
- Before You Start
- Materials & Tools Needed
- Step 1 — Plan the Layout & Measure the Room
- Step 2 — Remove Old Trim & Prep the Walls
- Step 3 — Cut Baseboard for Inside & Outside Corners
- Step 4 — Install the Baseboard
- Step 5 — Install Quarter Round or Shoe Molding
- Step 6 — Install Door & Window Casing
- Step 7 — Caulk, Fill Nail Holes & Sand
- Step 8 — Paint, Finish & Final Inspection
- Pro Tips & Common Mistakes
- FAQs
Before You Start
Installing baseboard and trim is one of the most approachable finish-carpentry projects for a DIYer — no heavy equipment, no structural risk, and mistakes are usually fixable with a little wood filler or a fresh cut. Professional trim installation runs $2–$5 per linear foot including labor. DIY materials cost $1–$4 per linear foot depending on profile and species — saving $300–$1,200+ across a typical home, mostly in labor.
This guide covers installing baseboard, quarter round, and door/window casing in a standard room, whether you're replacing old trim or adding it fresh after drywall. Use our baseboard & trim calculator to work out exactly how many linear feet and boards you need, with the right waste factor for your room's corner count, before you buy materials.
MDF vs Solid Wood — When to Choose Each
| Factor | Primed MDF | Solid Wood (Pine/Poplar) |
|---|---|---|
| Upfront cost | Lower ($1.00–$1.50/linear ft) | Higher ($1.50–$4.00/linear ft) |
| Workability | Cuts cleanly, pre-primed | Takes stain, sands smoothly |
| Moisture resistance | Swells if it gets wet | More tolerant of humidity |
| Finish options | Paint only | Paint or stain |
| Best for | Most rooms, budget projects | Stain-grade trim, high-end finish |
Use our Baseboard & Trim Calculator to get an exact linear footage and board count for your room, with a waste factor that adjusts automatically based on how many outside corners your room has.
Materials & Tools Needed
The list below covers a 14 × 12 ft bedroom with one door, baseboard only, using 12-foot boards. Use our baseboard & trim calculator to price your specific room.
Materials
| Component | Purpose | Qty for This Room |
|---|---|---|
| Baseboard (12 ft boards) | Primary trim along the floor | 5 boards (~54 linear ft) |
| Finish nails (1.5–2 in) | Fastens trim to wall studs | 1 box (~1.5 lbs) |
| Wood filler or caulk | Fills nail holes and seams | 1–2 tubes/containers |
| Construction adhesive (optional) | Extra hold between nails | 1 tube |
| Primer and paint (if MDF/paint-grade) | Finish coat | 1 quart primer + 1 quart paint |
| Sandpaper (120–220 grit) | Smooths filled nail holes before painting | Few sheets |
Tools
- Measuring & marking — tape measure, pencil, speed square
- Cutting — miter saw (rental or purchase, $100–$300) or a hand miter box for a smaller job
- Coping inside corners — coping saw and a round or half-round file
- Fastening — pneumatic finish nailer and compressor (rental, $40–$70/day) or a hammer and nail set
- Finishing — caulk gun, putty knife, sanding block
- Safety — safety glasses, hearing protection if using a compressor and nailer
A hand miter box works for a single small room, but a power miter saw makes clean, accurate cuts dramatically faster and is nearly essential once you're trimming more than one or two rooms. Rental costs ($30–$60/day) pay for themselves quickly in both time and cleaner-looking joints.
Good planning here prevents the most common trim mistakes — running short on material, mismatched seams, and an awkward short piece landing right next to the doorway where it's most visible.
- Measure the room's perimeter — measure length and width separately rather than just estimating total footage. Use our baseboard & trim calculator with both dimensions entered to get an accurate linear footage and board count.
- Count doorways, windows, and outside corners — each of these changes your material and waste calculation. A room with a closet alcove or a bump-out has more outside corners than a simple rectangle and needs a higher waste allowance.
- Plan your seam locations — decide where boards will meet along longer walls before cutting anything. Seams are least noticeable away from the room's main entry point and sightlines.
- Decide which corners will be coped vs. mitered — inside corners are typically coped; outside corners are always mitered. Mark this on your layout sketch so you're not deciding on the fly mid-installation.
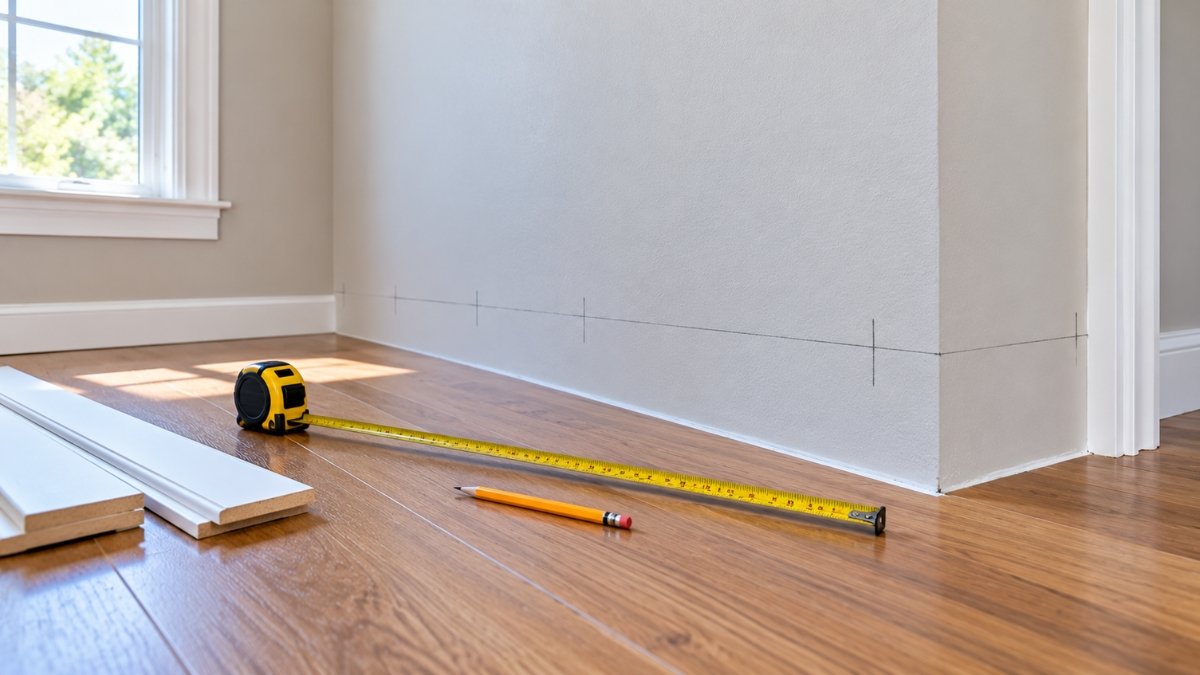
Hold full-length boards up against the wall before making a single cut, confirming your planned seam and corner locations actually look right in the room. This five-minute check catches layout problems while they cost nothing to fix.
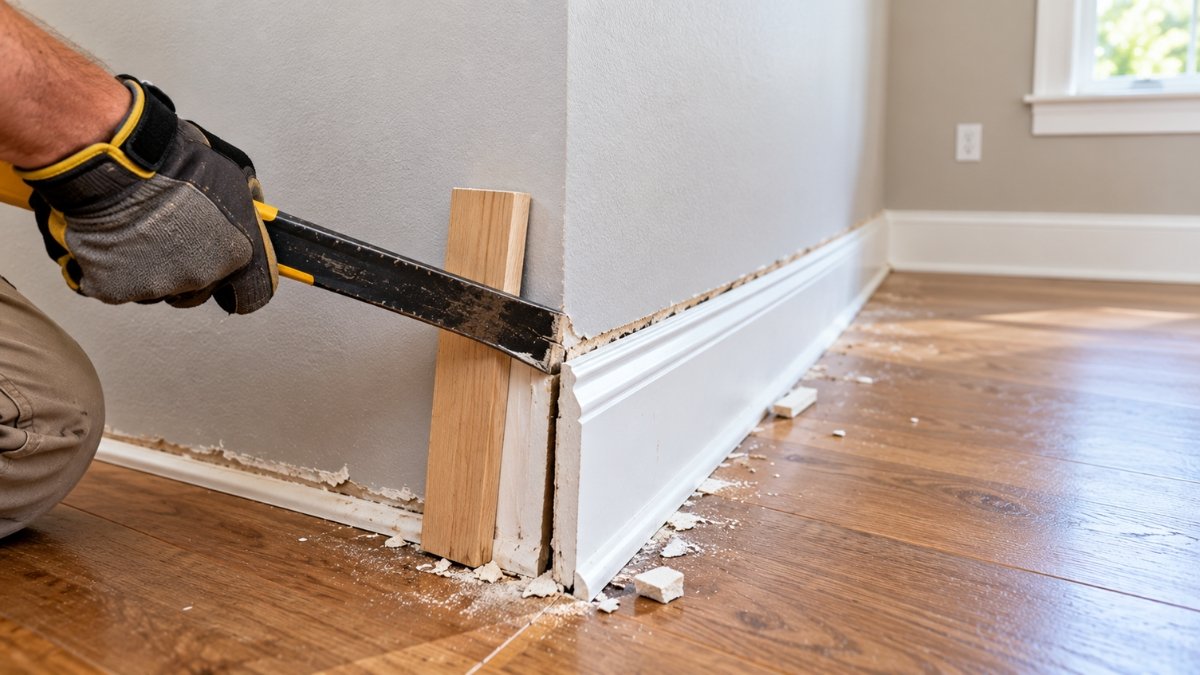
If you're replacing existing trim, careful removal saves the drywall behind it from unnecessary damage. If this is new construction or a fresh drywall job, skip to wall prep.
- Score the top caulk line — run a utility knife along the seam where the old trim meets the wall to break the paint and caulk bond before prying, which prevents tearing the wall finish.
- Pry gently, working from one end — use a flat pry bar with a wood scrap behind it to protect the wall, working slowly along the length of each board rather than yanking from one spot.
- Remove remaining nails from the wall — pull them through from the back with pliers rather than hammering them further in, which avoids denting the drywall.
- Patch any wall damage — fill small holes or dents with spackle and let it dry fully before installing new trim over the area.
- Confirm the floor line is relatively consistent — run a level along the floor at a few points. Baseboard can accommodate minor variation, but significant dips or humps are worth noting before you start cutting to length.
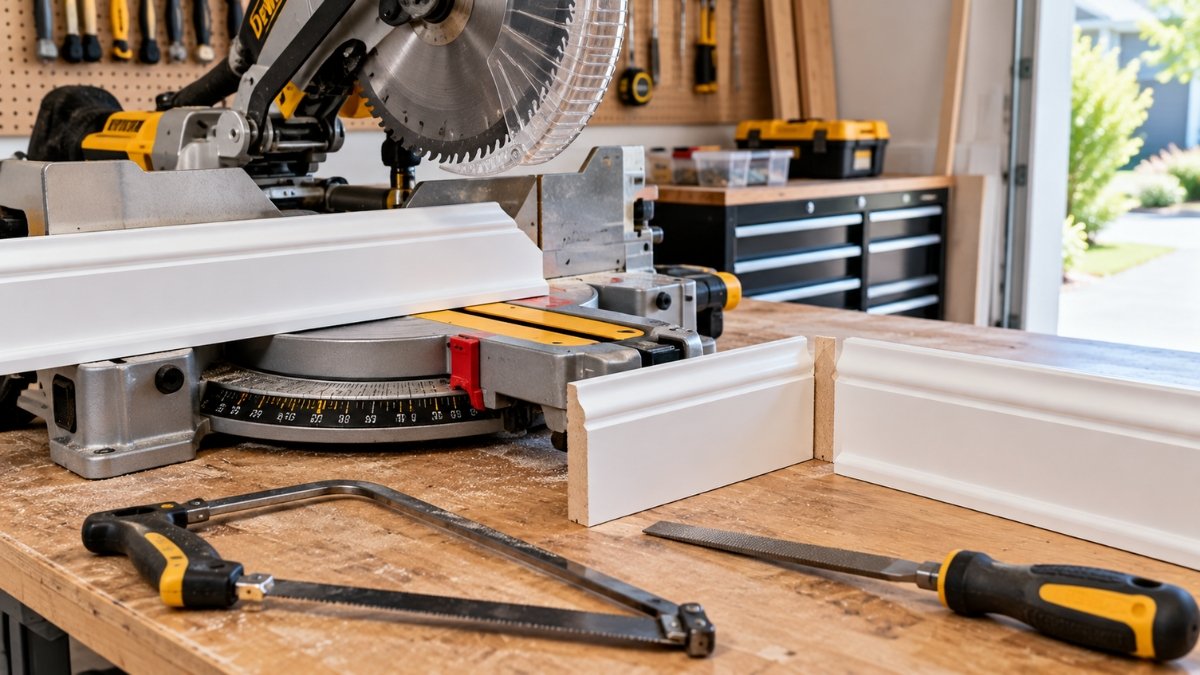
This is the step that determines whether your trim looks professionally installed or obviously DIY. Take your time, especially on the first few cuts.
- Cut outside corners with a 45° miter on both pieces — set your miter saw to 45° and cut each piece so the two angled faces meet cleanly at the corner. Test-fit before applying any adhesive or nailing.
- Cope inside corners instead of mitering them — cut one piece square into the corner, then on the adjoining piece, cut a 45° miter and use a coping saw to cut along the exposed profile line left by that miter cut. This creates a piece that nests against the face of the first board.
- File and test-fit the coped cut — use a round or half-round file to clean up the coped edge, test-fitting repeatedly against a scrap of the same trim profile until it sits flush with no visible gap.
- Cut butt joints for straight runs longer than one board — where two boards meet along a straight wall, cut both ends at a slight angle (not square) so the joint is less visible and holds together better as the wood moves.
A mitered inside corner can open into a visible gap as the house settles and the wood moves with humidity. A coped joint, where one piece's profile is cut to fit against the other's face, stays tight through that same movement. It takes more practice than a miter cut, but it's worth learning for inside corners specifically — outside corners should always be mitered.
With your pieces cut, installation itself moves quickly. Work around the room in one direction so each new piece can be test-fit against the one before it.
- Start at a corner and work around the room — install coped and mitered pieces in sequence, test-fitting each against its neighbor before nailing permanently.
- Locate wall studs before nailing — use a stud finder and mark stud locations lightly in pencil above where the baseboard will cover, ensuring nails have solid material to bite into.
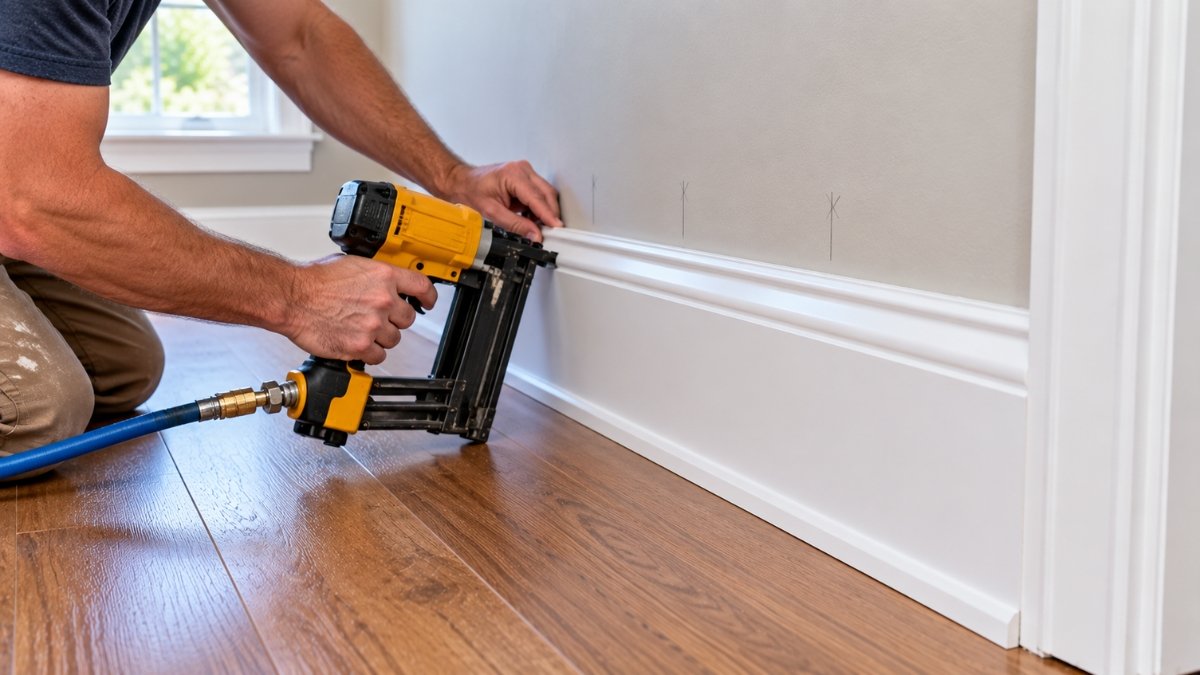
- Nail at both the top and bottom of the board — this holds the baseboard flat against the wall along its full height, not just at one edge. Angle nails slightly for better holding power.
- Leave a small gap at the floor — roughly ⅛ inch, which allows for minor seasonal movement and will be covered by quarter round if you're installing it.
- Add construction adhesive for extra hold on uneven walls — a bead of adhesive along the back of the board helps baseboard sit flat against walls that aren't perfectly straight.
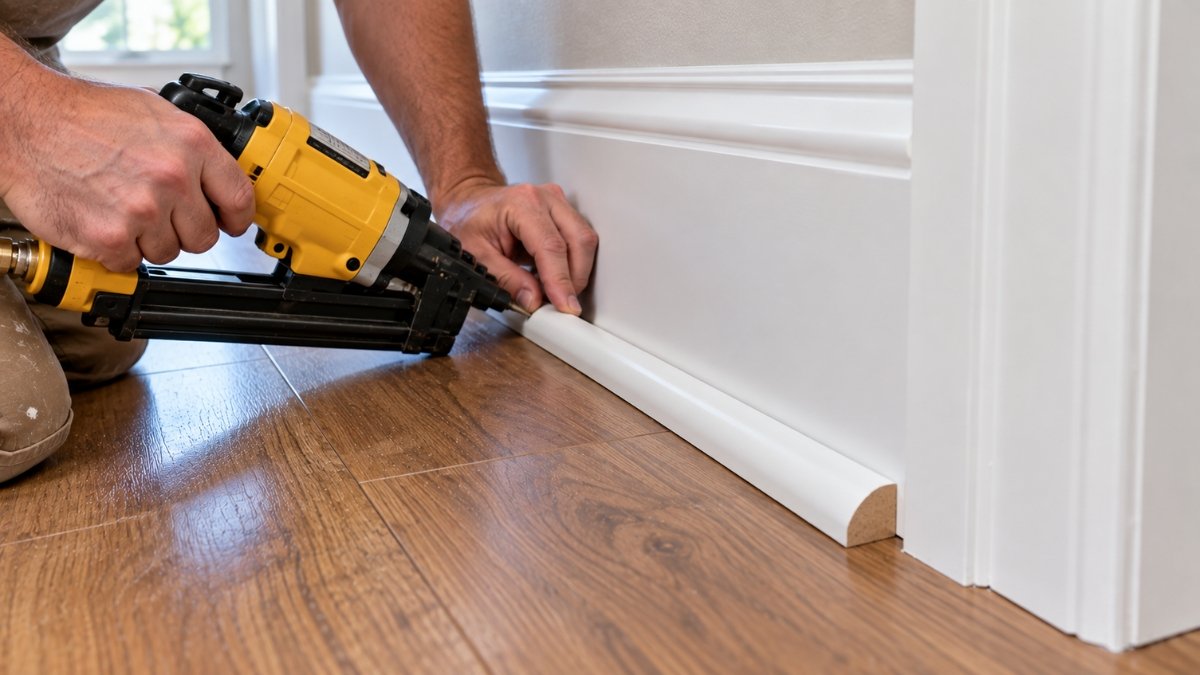
Quarter round covers the gap between baseboard and flooring, especially useful over hardwood or LVP flooring where a small expansion gap is intentionally left at the wall. This step is optional depending on your flooring type and finished look.
- Measure and cut using the same corner techniques as baseboard — cope inside corners, miter outside corners, following the same process as Step 3.
- Nail into the floor framing or baseboard, not the flooring itself — quarter round should be fastened so it doesn't restrict the floor's natural expansion and contraction, particularly important over engineered or hardwood flooring.
- Keep nails low and angled — nailing low on the quarter round profile and at a slight upward angle keeps fasteners hidden and gives better holding power into the baseboard above.
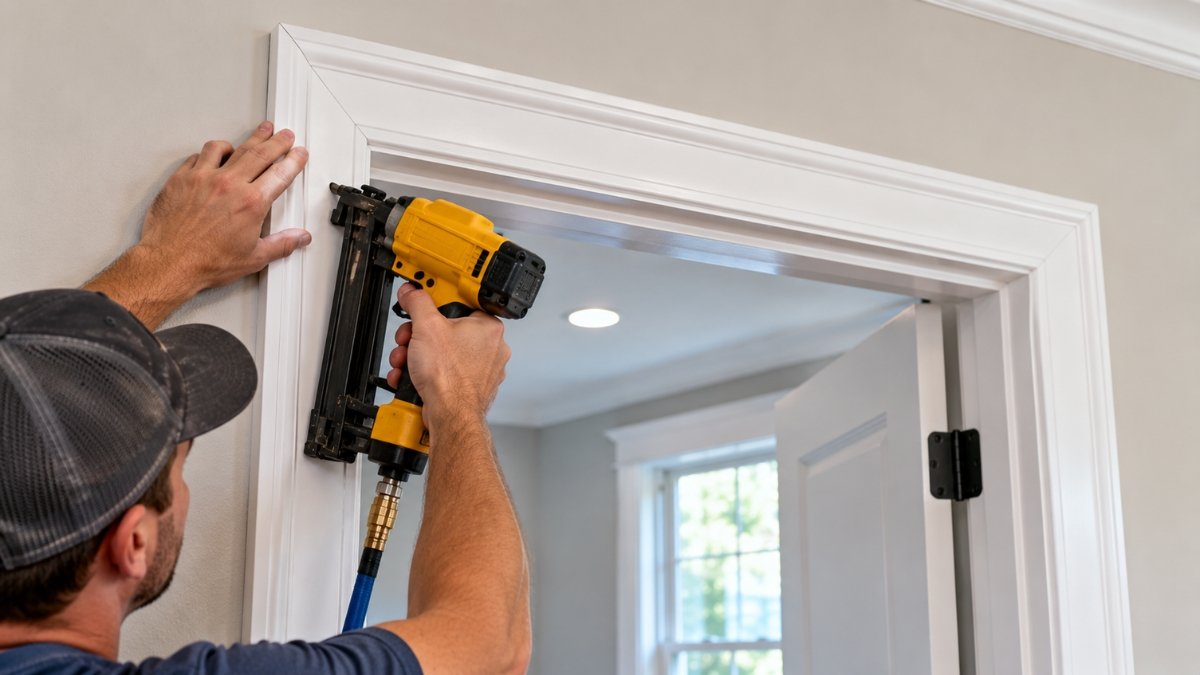
Casing frames doors and windows and typically installs after baseboard. This step is also optional if you're only refreshing baseboard and leaving existing casing in place.
- Mark a reveal line around the jamb — typically ¼ inch back from the inside edge of the door or window jamb, giving a consistent reveal line for the casing to align against.
- Cut the two side legs first — measure from the floor (or sill, for windows) to the top corner, cutting a 45° miter at the top end of each leg.
- Cut the head piece to match — measure across the top, mitering both ends at 45° to meet the side legs cleanly.
- Dry-fit all three pieces before nailing — confirm the miters close tightly with no gaps at both top corners before committing to fasteners.
- Nail along both the jamb edge and the wall edge — this holds the casing flat against both surfaces it spans.
This finishing step is what gives trim its clean, seamless, professionally installed appearance — it's easy to rush, but worth doing carefully.
- Fill nail holes with wood filler (stain-grade) or caulk (paint-grade) — press filler into each hole with a putty knife, slightly overfilling since most products shrink a bit as they dry.
- Caulk the top seam against the wall — run a thin, consistent bead of paintable caulk along the top edge of the baseboard where it meets the wall, then smooth it with a wet finger or caulk tool.
- Caulk mitered corners if any small gaps remain — even a well-cut miter can have a hairline gap; a small amount of caulk cleans this up invisibly once painted.
- Let filler and caulk cure fully before sanding — sanding wet or uncured filler smears it rather than smoothing it. Follow the product's stated cure time.
- Sand filled areas flush — lightly sand nail holes and any rough spots with 120–220 grit sandpaper until they're flush with the surrounding wood.
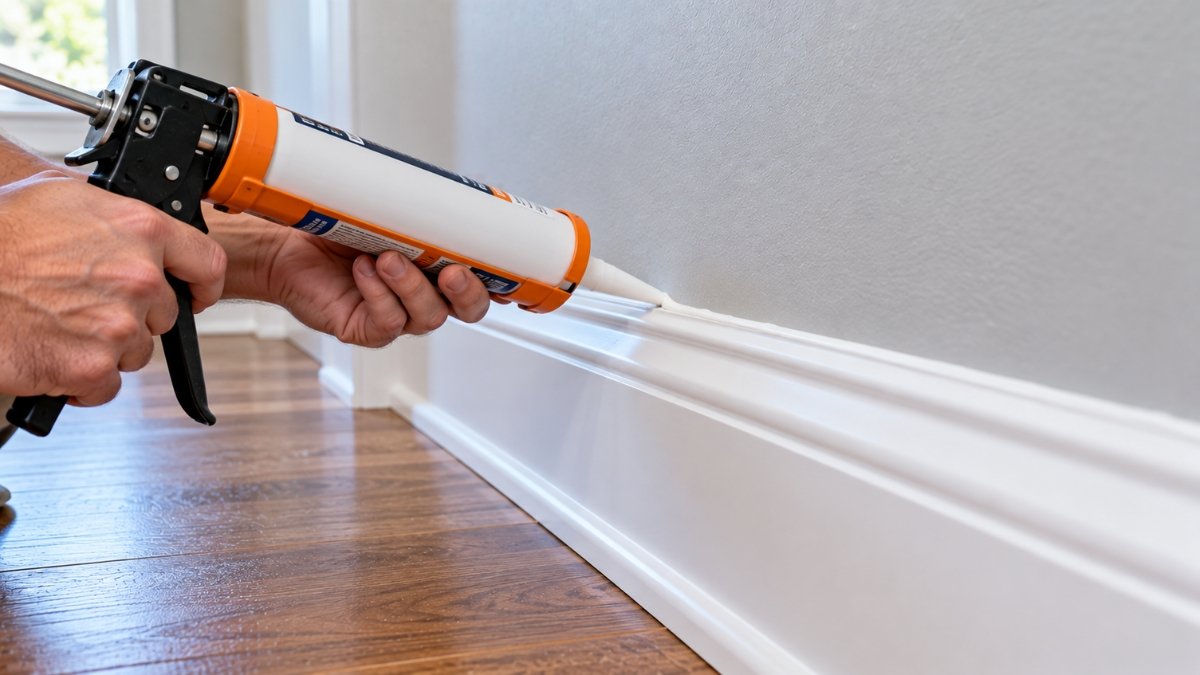
Even a perfectly installed baseboard can look unfinished without caulk along the top edge, since minor wall irregularities create a visible shadow line otherwise. This is a five-minute step per wall that makes a disproportionately large difference in the finished look.
The last step brings everything together and is also your chance to catch anything that needs a second look before calling the project done.
- Prime any bare wood or filled areas — spot-prime filled nail holes and any exposed MDF edges before the finish coat, since these areas absorb paint differently than the factory-primed surface.
- Apply finish coats — two coats of paint (for paint-grade trim) or stain and topcoat (for stain-grade) typically gives the most durable, even finish.
- Cut in carefully along the wall and floor — use painter's tape or a steady hand to keep paint lines crisp where trim meets wall color and flooring.
- Walk the room checking every joint — look closely at each corner, seam, and nail hole for anything that needs a touch-up before considering the room finished.
- Clean up sawdust and debris — vacuum and wipe down the room, including inside any HVAC vents where sawdust tends to settle during cutting.
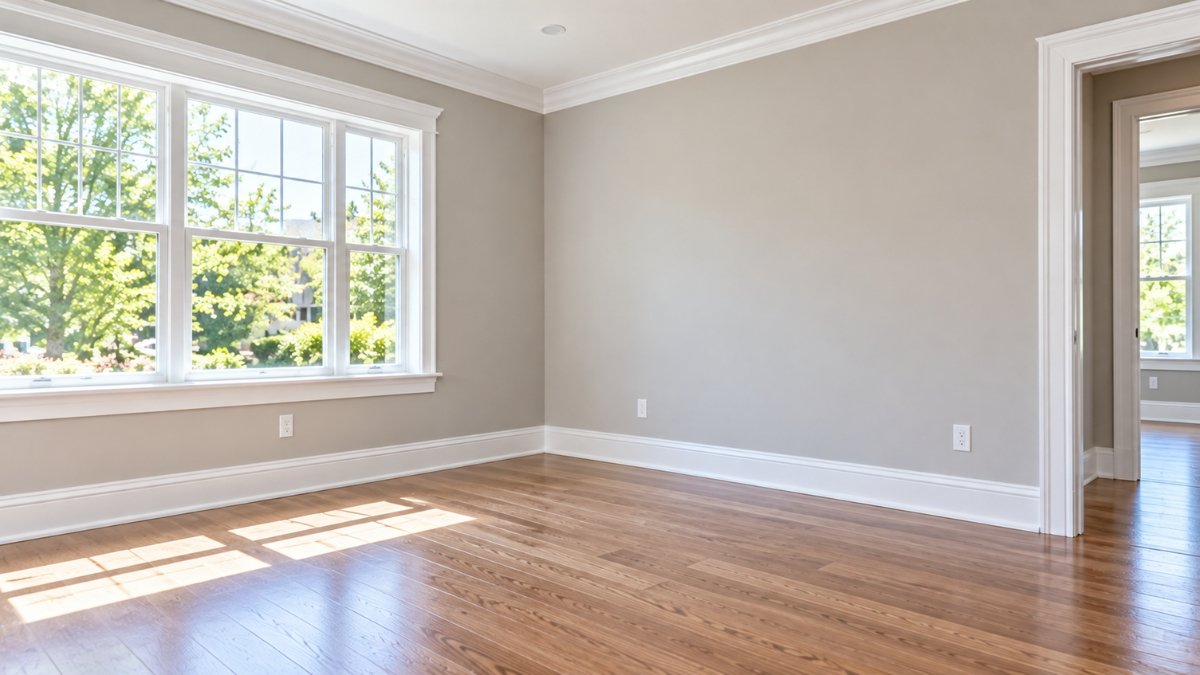
Properly installed and finished trim holds up for decades with only occasional repainting. See how your project cost compares with professional installation using our baseboard & trim calculator.
Pro Tips & Common Mistakes
Common Mistakes to Avoid
- Measuring square footage instead of perimeter — trim is a linear measurement, not an area measurement. Always calculate from the room's perimeter, not its floor area.
- Mitering inside corners instead of coping them — mitered inside corners tend to open into a visible gap over time as the wood moves. Coping takes more practice but holds up better long-term.
- Using a flat waste factor regardless of room shape — a room with several outside corners needs more waste allowance than a simple rectangle. Account for corner count when ordering material.
- Nailing without locating studs first — nails that miss the stud have little holding power and can work loose over time, especially along longer runs.
- Skipping the caulk line — leaving the top seam uncaulked leaves a visible shadow gap even on an otherwise well-installed job.
- Not buying an extra board — a single miscut on a long run can mean a second trip for just one more piece if there's no buffer material on hand.
Pro Tips
- Pre-paint or pre-prime trim boards before cutting and installing where possible — it's far easier to get a clean, even coat on a flat board than after it's installed in a corner.
- Keep a scrap piece of each trim profile on hand while coping — it makes test-fitting the coped cut much faster than repeatedly trial-fitting the actual installation piece.
- Work in a logical sequence — baseboard first, then quarter round, then casing — so later pieces can reference the lines already established by earlier ones.
- Label cut pieces with painter's tape and a number as you go if cutting several rooms' worth of trim at once, to avoid confusing which piece goes where.
- Order 7–10% extra material beyond the calculated minimum to cover miscuts and test cuts, especially if you're newer to coping inside corners.
Frequently Asked Questions

Prakash
Prakash is the founder and editor of ConstructlyTools. He researches, develops, and maintains construction calculators, material estimators, cost guides, and DIY planning resources designed to help homeowners, contractors, and builders make informed project decisions.
Every calculator and guide is researched using trusted industry references, published building standards, manufacturer specifications, and reliable construction pricing sources. Each page is reviewed for formula accuracy, pricing methodology, readability, and practical usefulness before publication and is updated regularly as standards or market prices change.
Every calculator and article published on ConstructlyTools is independently reviewed for formula accuracy, pricing methodology, readability, and practical usefulness before publication. Content is updated whenever construction pricing, industry standards, or building code references significantly change.
This page was researched, written, and reviewed in accordance with our Editorial Policy.