
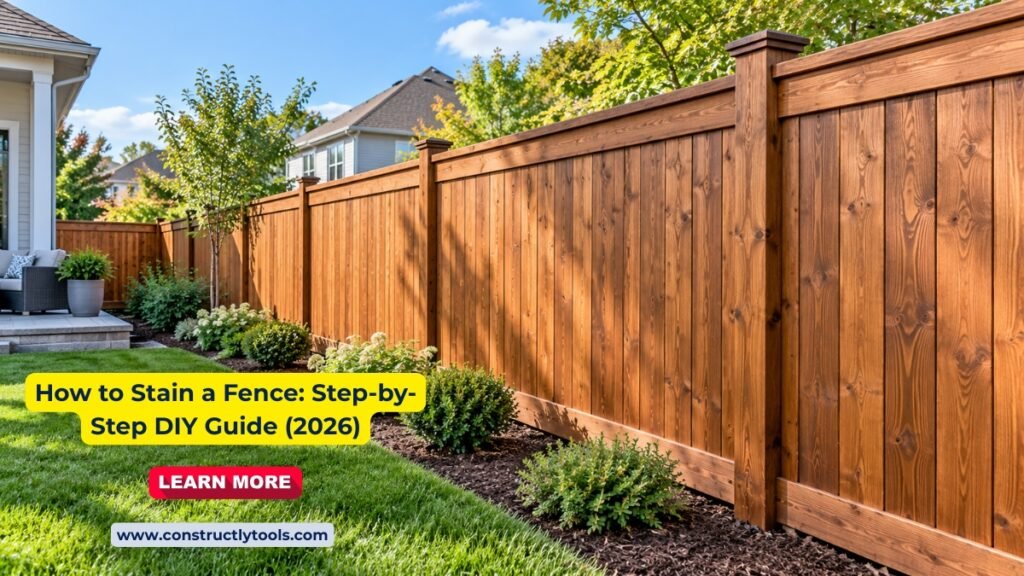
- Before You Start
- Materials & Tools Needed
- Step 1 — Check the Wood & Pick Your Weather Window
- Step 2 — Choose Your Stain & Calculate How Much You Need
- Step 3 — Repair & Prep the Fence
- Step 4 — Clean the Fence
- Step 5 — Test the Stain & Set Up
- Step 6 — Apply the Stain
- Step 7 — Stain Gates, Posts & Details
- Step 8 — Let It Dry & Add a Second Coat if Needed
- Step 9 — Final Inspection & Cleanup
- Pro Tips & Common Mistakes
- FAQs
Before You Start
Stain is what keeps a wood fence from graying, cracking, and rotting, and it's one of the most DIY-friendly maintenance jobs around. It needs no special skill, just time, the right weather, and attention to even coverage. DIY materials for a typical 150-foot fence run $200–$650, versus $900–$2,800 for a professional job, so you save roughly $700–$2,100. Almost all of that gap is labor.
This guide covers staining a standard 6-foot wood privacy fence on both sides with a semi-transparent stain, whether the fence is new or already finished. The same steps apply to picket fences and gates, and to decks with a deck-rated product. Use our fence staining cost calculator to estimate your cost by length, height, finish type, and wood condition before you buy anything.
Clear Sealer vs Stain vs Paint
| Finish | Pro Cost / Linear Ft | Recoat Interval | Best For |
|---|---|---|---|
| Clear sealer | $2–$5 | 2–3 years | Keeping the natural wood look, with water protection only |
| Semi-transparent stain | $3–$6 | 3–5 years | Most popular choice: shows wood grain and adds UV protection |
| Solid stain | $4–$8 | 4–6 years | Hiding discoloration, with the most color options |
| Paint | $6–$14 | 1–3 years before peeling | Full color, but rarely the right call for a fence |
Use our Fence Staining Cost Calculator for a detailed estimate, or our Linear Feet Calculator if you're converting your measurements. If you're weighing paint instead, see our Fence Paint Calculator.
Materials & Tools Needed
The list below covers a 150-foot, 6-foot wood privacy fence, both sides, one coat of semi-transparent stain, in good condition. A fence in poor condition needs more product and more prep.
Materials
| Component | Purpose | Qty for This Fence |
|---|---|---|
| Exterior semi-transparent stain | The finish itself | 8–11 gallons (1,800 sq ft at 175–250 sq ft per gallon) |
| Wood or fence cleaner | Removes dirt, mildew, and graying | Per product label |
| Exterior wood filler, screws, or replacement boards | Repairs before staining | As needed |
| Painter's tape, plastic sheeting, drop cloths | Protects plants, hardscape, and the house | As needed |
| Sandpaper or sanding block | Smooths rough spots and repairs | A few sheets |
| Rags and disposable gloves | Wiping drips and cleanup | Several |
Stain for this fence costs about $200–$550 at $25–$50 per gallon. Total materials for a typical 150-foot fence run about $200–$650.
Tools
- Cleaning — pressure washer (rental, $80–$180/day) with a wide fan tip, or a garden hose and stiff brush
- Applying — pump sprayer or airless sprayer, plus a 4–5 inch brush for back-brushing (natural bristle for oil-based stain, synthetic for water-based)
- Detail work — paint pad applicator or roller with an extension pole, and a 2-inch brush for edges and tight spots
- Mixing — 5-gallon buckets and a stir stick
- Testing — spray bottle for the water test, and a pin-type moisture meter if you have one
- Safety — safety glasses, gloves, and a respirator when spraying
A weathered or dirty fence needs cleaning before stain will adhere, which adds about $0.50–$1.50 per linear foot if you hire it out. If you'd rather hand off just the washing, see our Pressure Washing Cost Calculator. Wood needs a gentler wash than concrete.
Most stain failures come from staining at the wrong time, not from the stain itself. Wood that is still wet won't absorb stain, and the finish peels instead of lasting.
- Decide whether the fence is new or already finished — new pressure-treated wood holds a lot of moisture from the treatment process and can take anywhere from several weeks to 3–6 months to dry. Cedar and redwood generally dry faster. Kiln-dried boards can often be stained within weeks.
- Run the water test — sprinkle a little water on several spots across the fence and watch what happens (see the table below). Test in at least five or six places, since the sunny side of a fence dries faster than the shaded side.
- Use a moisture meter if you have one — pros aim for wood at 15% moisture or below. Moisture content matters more than the calendar.
- Pick a weather window — the ideal range is about 50–80°F with humidity below 70%. Avoid staining in direct, hot sun, which makes stain dry too fast on the board. Check the forecast for a clear stretch afterward.
- Plan for several dry days — three or four consecutive days without rain is typically enough drying time to start from a clean, dry fence in most climates. Allow at least 24 hours of dry weather after staining.
Reading the Water Test
| Fence Type | Water Soaks In (within about 10 minutes) | Water Beads or Pools |
|---|---|---|
| New, unstained wood | Ready to stain | Still too wet. Wait and test again in a couple of weeks |
| Previously stained fence | The old finish has worn through. Time to restain | The old finish is still protecting the wood |
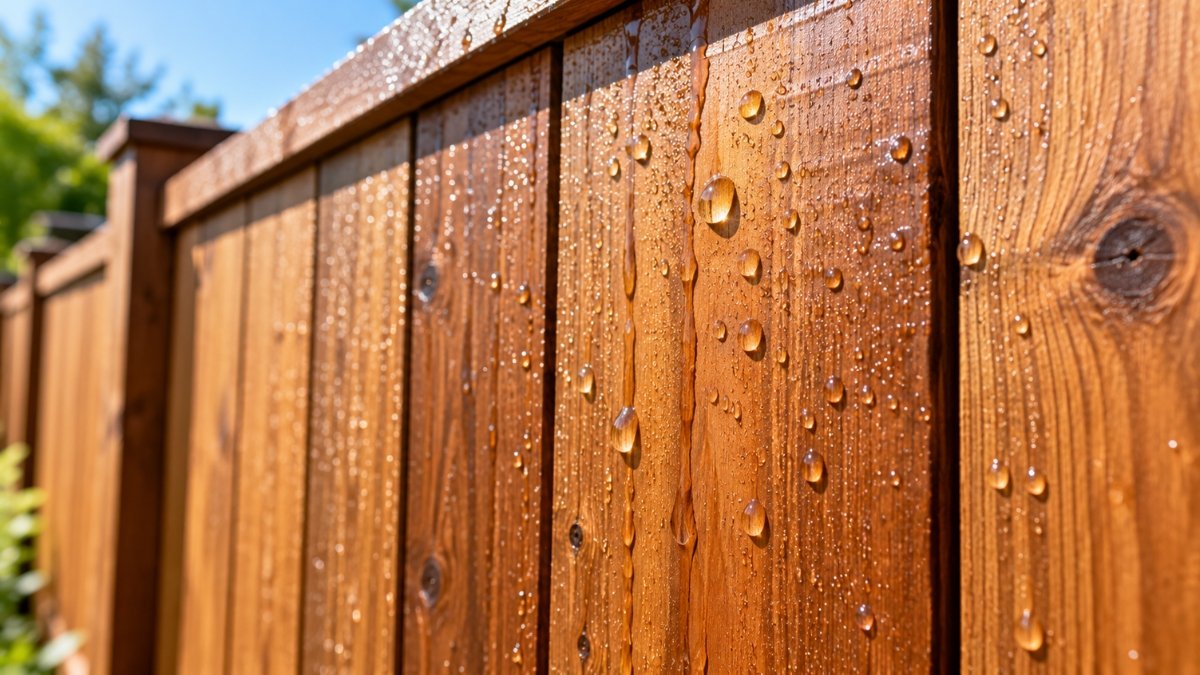
Staining wood that is still wet traps moisture under the finish, which causes it to peel and can lead to rot. If your fence is new and the water beads, wait. A few extra weeks now saves you from stripping and redoing the whole job later.
Buying the right product in the right amount avoids both a mid-project store run and a garage full of leftover stain.
- Pick a finish type — semi-transparent stain is the most popular choice because it shows the wood grain. Solid stain hides discoloration and gives the most color options. Clear sealer protects without changing the look. Paint is rarely the right call, since it forms a film that eventually cracks and peels.
- Choose oil-based or water-based — if the wood contains a water repellent, a water-based stain won't absorb as well, so an oil-based exterior stain is usually the better match. Always follow the product label for your wood type, since cedar, redwood, and pressure-treated pine each take stain differently.
- Calculate your surface area — multiply fence length by height by the number of sides you're staining. A 150-foot, 6-foot fence stained on both sides is 150 × 6 × 2 = 1,800 sq ft.
- Divide by the coverage rate — new or smooth wood covers about 175–250 sq ft per gallon, so that fence needs about 8–11 gallons. Rough or weathered wood covers only about 100–180 sq ft per gallon, so the same fence would need about 10–18 gallons.
- Round up and mix your cans together — buy a little more than you calculated, then pour all your cans into one large bucket and stir before you start. This evens out slight color differences between cans, so you don't see a visible color change partway along the fence.
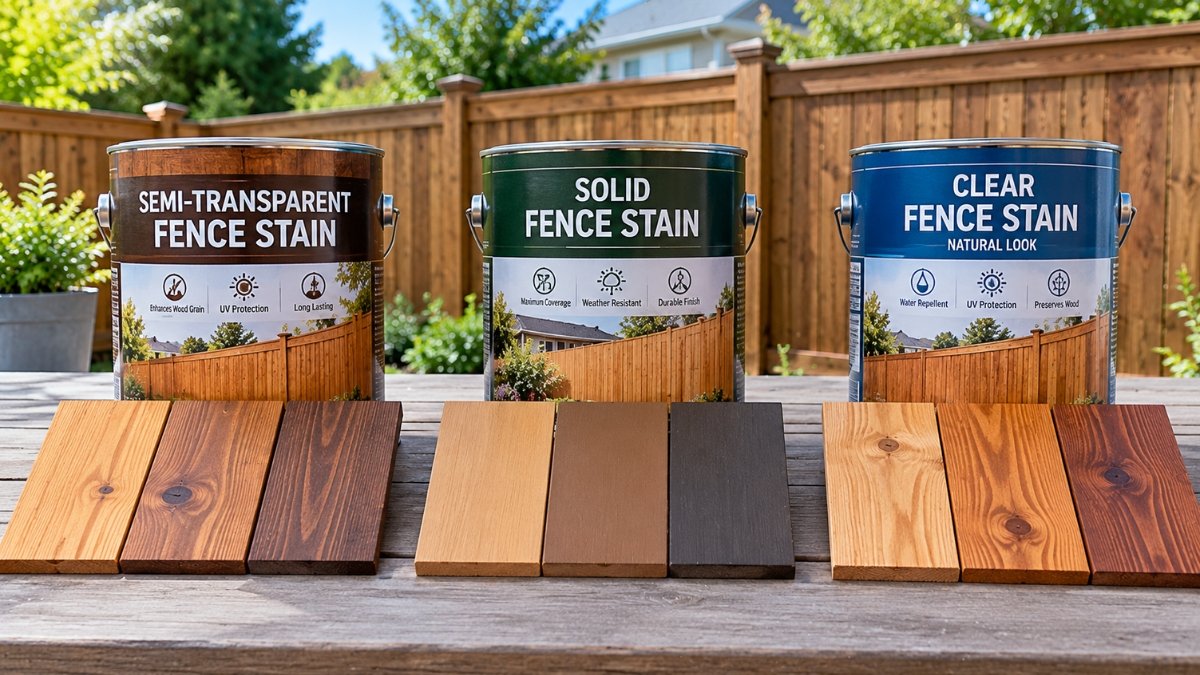
Our Fence Staining Cost Calculator works out surface area, estimated gallons, and cost for your exact fence, including the extra prep a weathered fence needs.
Any damage you leave behind will show through stain, and some of it gets worse once the wood is wet. Repair first, then clean.
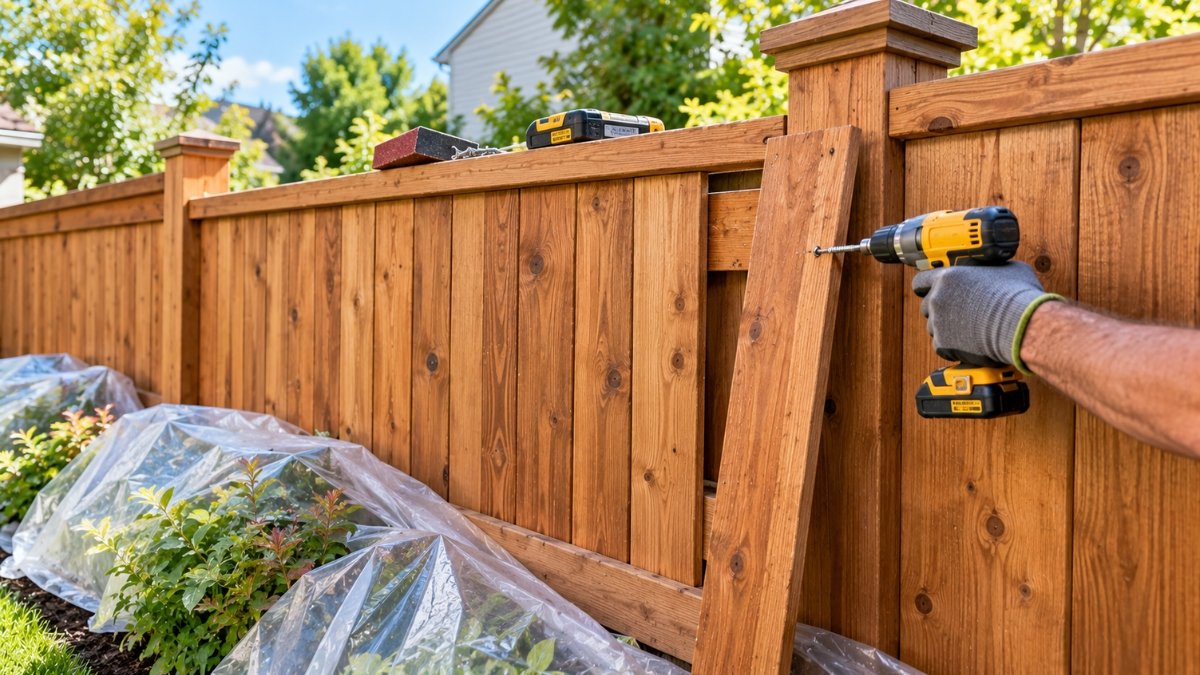
- Walk the whole fence and mark problems — loose boards, popped nails, split or rotted boards, and wobbly posts. Use painter's tape or chalk to flag each one.
- Make the repairs — drive or replace loose fasteners, swap out rotted boards, and fill small cracks and holes with exterior wood filler. A replacement board will need extra time to dry before it takes stain.
- Sand rough and repaired areas — a light pass smooths splinters and feathers patches into the surrounding wood.
- Trim back plants and clear the base — cut vegetation away from the fence so you can reach every board and the stain doesn't touch the leaves. Remove anything leaning against it.
- Protect what you don't want stained — cover plants, grass edges, and nearby hardscape with plastic or drop cloths, and tape off house siding if the fence meets a wall. Remove or cover gate hardware.
Stain can only soak into clean, bare wood. Dirt, mildew, and old gray wood fibers on the surface block it, which is why a weathered fence adds real prep time and cost to this job.
- Apply a wood cleaner — use a cleaner made for fences or decks, following the label. Scrub stubborn areas with a stiff brush while the surface is wet.
- Rinse with low pressure — use a wide fan tip and keep the nozzle well back from the wood, working along the grain. Too much pressure gouges soft wood and leaves marks that show through stain. Test on a hidden spot first.
- Let the wood dry fully — this typically takes 24–48 hours in good weather, and longer in humid or shaded conditions. Don't stain damp wood just because the surface looks dry.
- Re-run the water test — once the fence looks dry, sprinkle water in a few spots to confirm it absorbs.
- Stain soon after it dries — freshly cleaned bare wood weathers quickly, so don't leave it exposed for days before you start.
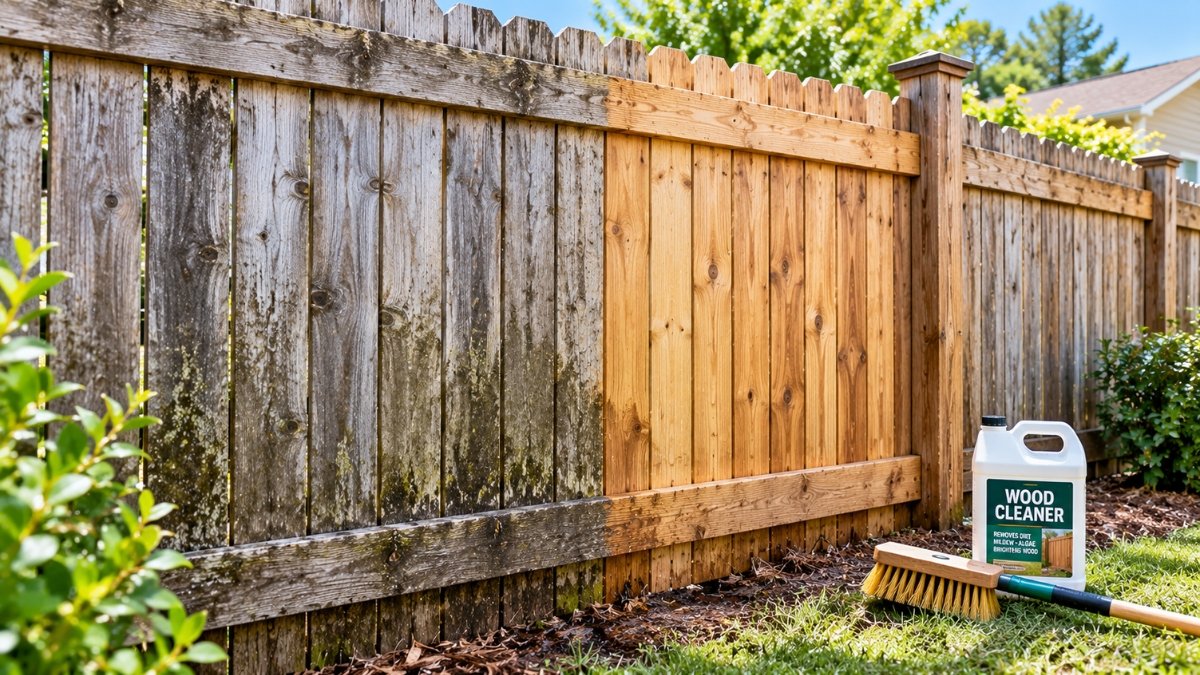
Wood isn't concrete. High pressure raises the grain, splinters soft boards, and can drive water deep into the wood, which then takes longer to dry. If you're pricing out the cleaning step on its own, our Pressure Washing Cost Calculator includes a wood deck or fence option with a soft-wash approach.
Stain looks different on different woods, and you can't undo a color you don't like once it's on the whole fence. A five-minute test saves you from that.
- Test on a hidden board — apply the stain to a spot you won't see, such as a lower back board, and let it dry. Colors look different wet and dry, and different again on your particular wood.
- Stir, don't shake — mix the stain thoroughly with a stir stick, and keep stirring occasionally as you work. Pigment settles to the bottom of the can.
- Check the label for conditions — confirm the temperature range, dry time, and whether it calls for one coat or two.
- Set up your work area — put drop cloths down along the base of the fence, and have your brush, rags, and a bucket of stain within reach.
- Plan your sequence — work one section at a time, such as one panel from post to post, and work top to bottom. Start on the side that will be in shade at that time of day.
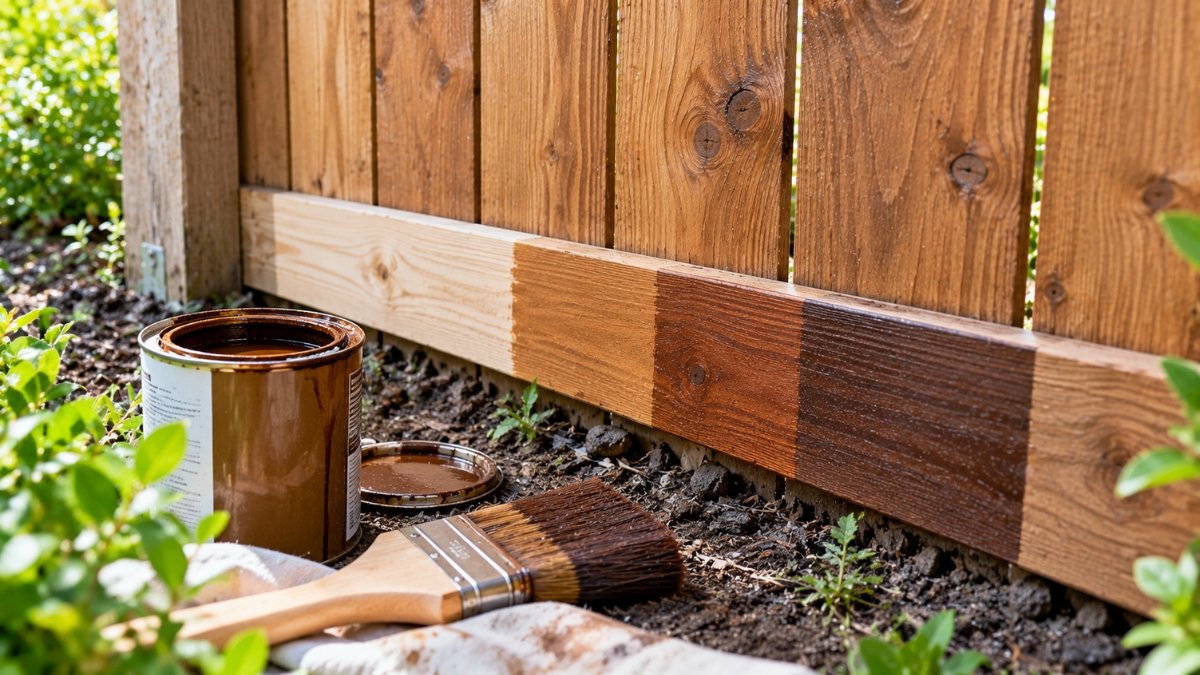
This is the main event. The goal is even coverage with no lap marks (the dark overlapping streaks you see where wet stain meets dry stain).
- Work one section at a time — finish a full panel, with the boards between two posts, before moving on. A continuous wet edge is what prevents lap marks.
- Spray in even, overlapping passes — if you're using a sprayer, keep the passes consistent and wear a respirator. Mask off anything nearby, since overspray travels.
- Back-brush right away — immediately after spraying, work the stain into the grain with a brush and smooth out drips. Stain that is only sprayed can sit on the surface instead of soaking in, so don't skip this step.
- Or brush and roll by hand — slower, but more control, especially near plants and walls. Brush along the grain and keep a wet edge.
- Don't over-apply — apply enough to wet the wood evenly, and wipe up any puddles or runs. Excess stain that doesn't soak in turns tacky and peels.
- Do the second side — once the first side is done, repeat on the other side of the fence, using the same method.
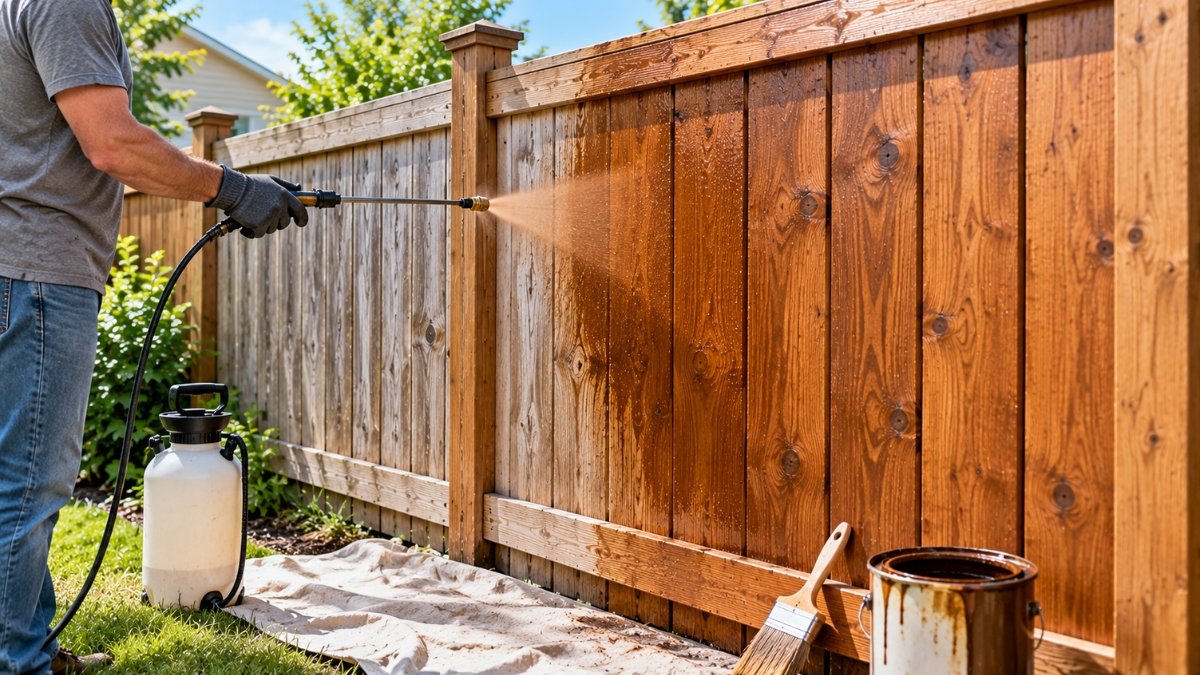
A sprayer is the fastest way to cover a fence, but it leaves stain sitting on the surface. Back-brushing pushes it into the wood, evens out the coverage, and removes drips. Spray a panel, then brush that panel before the stain starts to dry.
Gates, posts, and cut edges are where moisture gets in first, and they're easy to rush because they're slow to do. Give them the same care as the main panels.
- Stain the gate on every surface — open the gate and finish both faces and all four edges. The top and bottom edges are the most likely to be missed and the most likely to take on water.
- Soak the cut ends — the tops of pickets and posts absorb stain much faster than the faces, so give them an extra pass. End grain is where water enters first.
- Brush into corners and joints — use a small brush where boards meet rails and posts, since sprayers and rollers skip these spots.
- Handle hardware carefully — keep stain off hinges and latches. If hardware is stained, wipe it clean before the stain dries.
- Check the base of the fence — look at the bottom few inches, where boards meet the ground, and brush any missed spots.
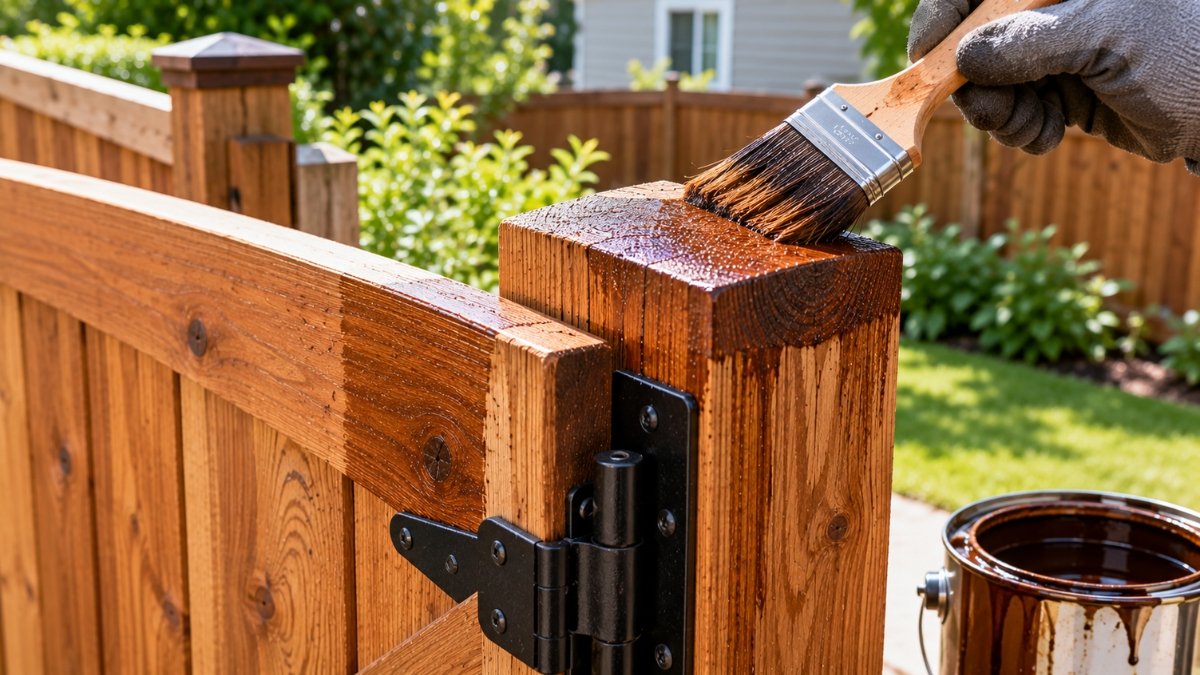
If you're installing a new wood fence, it's much easier to stain the backs and edges of the boards before they go up, since you can't reach those surfaces later. See our How to Install a Wood Fence guide for the full build.
Drying time is part of the job, and a second coat is only sometimes called for. Follow the label for your specific product.
- Wait for the first coat to dry — water-based stain is typically dry to the touch in 4–8 hours and fully cured in about 24 hours. Cool or humid weather slows this down.
- Protect the fence from water — keep sprinklers off the fence and avoid staining if rain is forecast within the next day. Wet stain can streak or wash out.
- Decide whether a second coat is needed — semi-transparent stain usually needs just one coat. Solid stain and some products call for two. If the label says to apply a second coat, do it while the first is still receptive, following the product's timing instructions.
- Apply the second coat the same way — use the same panel-by-panel method, and keep it thin.
- Be patient with the finish — color often looks slightly different once it fully cures. Judge the result after it has dried, not while it's wet.
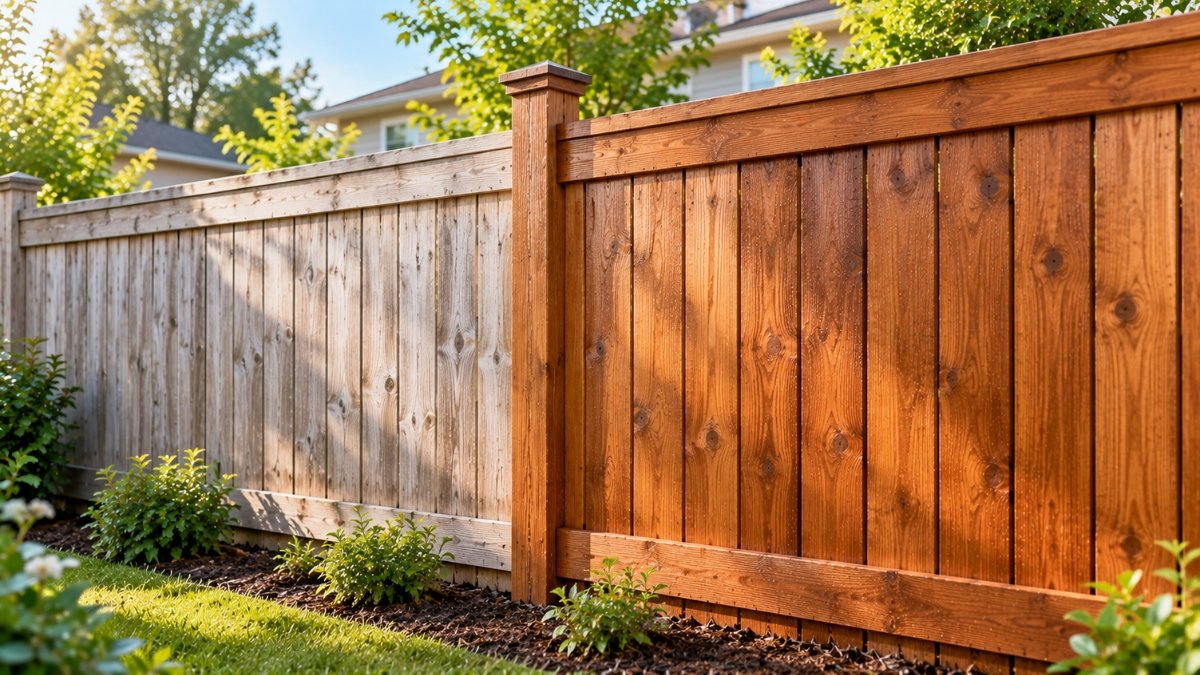
A careful walk-through while your supplies are still out lets you fix missed spots in minutes instead of weeks.
- Walk the fence in good light — look at both sides for missed spots, drips, lap marks, and thin areas, especially near the ground and at the tops of boards.
- Touch up as you go — brush out any drips and re-coat thin spots while the stain is still workable.
- Remove tape, plastic, and drop cloths — pull tape while the stain is dry to the touch to avoid peeling any of it off.
- Clean your tools — wash brushes with water or the solvent the label recommends, and seal leftover stain tightly.
- Handle stain-soaked rags safely — see the warning below.
- Plan your next recoat — semi-transparent stain typically needs recoating every 3–5 years, solid stain every 4–6 years, and clear sealer every 2–3 years. Use the water test to check, and write the date on the leftover can.
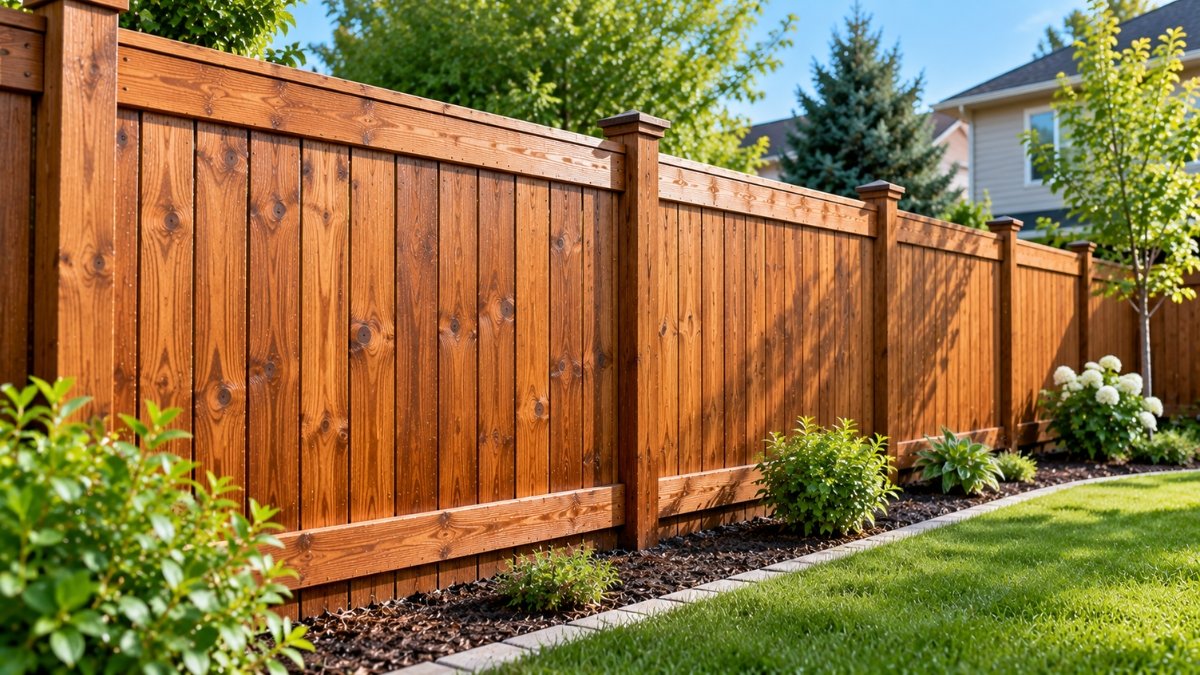
Rags soaked with oil-based stain can heat up as they dry and ignite on their own, especially when bunched together. Spread them flat outdoors, away from buildings, until fully dry, or soak them in water in a sealed metal container before disposal. Never leave them in a pile or in a trash can.
A well-stained fence will go years before it needs attention. To see how your project compares with hiring it out, use our fence staining cost calculator.
Pro Tips & Common Mistakes
Common Mistakes to Avoid
- Staining wood that is still wet — the most common cause of peeling. Use the water test, and wait for new pressure-treated wood to dry.
- Skipping the cleaning step — dirt, mildew, and old gray fibers block the stain. A weathered fence needs to be cleaned first.
- Using too much pressure when washing — high pressure damages soft wood and leaves marks that show through the stain.
- Spraying without back-brushing — stain left on the surface instead of worked into the grain wears off faster.
- Staining in direct hot sun or the wrong temperature — stain dries too fast on hot boards, causing lap marks. Stay in the 50–80°F range.
- Letting the wet edge dry between sections — leads to dark overlap streaks. Finish each panel in one go.
- Only staining the visible side — the unfinished back weathers unevenly and rots faster. If you own the fence, do both sides in one go.
- Choosing paint for a "full color" look — paint peels and takes far more work to redo. Use solid stain for opaque color instead.
Pro Tips
- Test the water on both sunny and shaded sections before you start, since wood dries at different rates around the fence.
- Mix all your cans together in one bucket so the color stays consistent along the entire fence.
- Start with the least visible section, so any early mistakes while you find your rhythm end up in the back corner.
- Stain on a mild, overcast day if you can. Direct sun on warm boards makes lap marks more likely.
- Write the product name, color, and application date on the leftover can lid, so touch-ups and recoats match.
Frequently Asked Questions

Prakash
Prakash is the founder and editor of ConstructlyTools. He researches, develops, and maintains construction calculators, material estimators, cost guides, and DIY planning resources designed to help homeowners, contractors, and builders make informed project decisions.
Every calculator and guide is researched using trusted industry references, published building standards, manufacturer specifications, and reliable construction pricing sources. Each page is reviewed for formula accuracy, pricing methodology, readability, and practical usefulness before publication and is updated regularly as standards or market prices change.
Every calculator and article published on ConstructlyTools is independently reviewed for formula accuracy, pricing methodology, readability, and practical usefulness before publication. Content is updated whenever construction pricing, industry standards, or building code references significantly change.
This page was researched, written, and reviewed in accordance with our Editorial Policy.