
- Before You Start
- Materials & Tools Needed
- Step 1 — Plan, Measure & Order Your Sheets
- Step 2 — Prep the Framing
- Step 3 — Hang the Ceiling Sheets
- Step 4 — Hang the Wall Sheets
- Step 5 — Cut Openings & Install Corner Bead
- Step 6 — Tape the Joints & Apply the First Coat
- Step 7 — Apply the Second Coat
- Step 8 — Apply the Finish Coat & Sand
- Step 9 — Prime, Inspect & Clean Up
- Pro Tips & Common Mistakes
- FAQs
Before You Start
Drywall is the step where a room stops looking like a construction site and starts looking like a room. Hanging the sheets goes quickly. Most of the time, and nearly all of the skill, is in the finishing: taping, mudding, and sanding the seams until they disappear under paint. Professional hang-and-finish for a typical 12 × 12 ft bedroom (walls and ceiling) runs about $760–$1,520. DIY materials for the same room run about $296–$444, which saves roughly $450–$1,100 per room, and more across a basement or addition.
This guide covers hanging and finishing standard ½-inch drywall on wood framing, ceiling and walls, taped and finished to a smooth, paint-ready surface. The same steps apply to basements, additions, and garage conversions, with different board types where code requires them (covered below). Use our drywall calculator to work out how many sheets you need, with waste included, before you order anything.
Which Drywall Do You Need?
| Drywall Type | Best For | Cost per 4×8 Sheet |
|---|---|---|
| Standard ½" | Walls and ceilings in dry rooms (framing at 16" on center) | $12–$18 |
| Lightweight ½" | Same uses, easier to carry and lift | $14–$20 |
| Moisture-resistant (green or purple) | Bathroom and laundry walls outside the tub or shower itself | $16–$28 |
| ⅝" Type X (fire-rated) | Garage walls and ceilings, and anywhere code requires fire separation; also ceilings with joists at 24" on center | $18–$26 |
Use our Drywall Calculator to get an exact sheet count with a waste factor for your room, including deductions for doors and windows. Always round up to whole sheets.
Materials & Tools Needed
The list below covers a 12 × 12 ft bedroom with 9 ft ceilings, walls and ceiling, using standard ½-inch 4×8 sheets with a 10% waste allowance. Use our drywall calculator to size your own room.
Materials
| Component | Purpose | Qty for This Room |
|---|---|---|
| ½" drywall sheets (4×8) | Wall and ceiling surface | 19 sheets (594 sq ft with waste) |
| Premixed joint compound (5 gal) | Bedding, filling, and finishing coats | 2 buckets |
| Paper drywall tape (250 ft roll) | Reinforces every seam and inside corner | 2 rolls |
| 1⅝" coarse-thread drywall screws | Fastens sheets to wood framing | 2 lbs |
| Metal corner bead (10 ft) | Protects and shapes outside corners | 4 pieces |
| Drywall primer | Seals the surface before paint | 1 gallon |
| 120-grit sanding screens or sponges | Smooths the finish coat | Several |
Sheets, compound, tape, screws, and corner bead total about $296–$444 for this room, before primer and sanding supplies.
Tools
- Lifting — drywall lift for ceiling sheets (rental, $50–$80/day) or at least two strong helpers
- Measuring & cutting — tape measure, 4-foot T-square, utility knife with plenty of fresh blades, drywall saw or rotary cutout tool for outlets
- Fastening — drill or drywall screw gun with a dimpler (screw-setting) bit
- Finishing — 6-inch taping knife, 10-inch and 12-inch finishing knives, mud pan
- Sanding — pole sander with 120-grit screens, sanding sponge
- Layout — stud finder, chalk line, step ladder
- Safety — dust mask or respirator for sanding, safety glasses, work gloves
A standard ½-inch 4×8 sheet weighs about 54 lbs, and a 4×12 sheet about 80 lbs. A rented lift costs a fraction of one injury and makes ceiling work safe for a solo DIYer. Joint compound is also the one material worth over-buying: a spare bucket costs far less than stopping mid-coat for a store run.
Good planning keeps you from the two most common ordering mistakes: running short mid-project, and buying the wrong board for the room.
- Measure each room and calculate sheets — measure wall and ceiling area, subtract doors and windows, add about 10% for waste, and round up to whole sheets. Our drywall calculator does this for you.
- Choose sheet length — 4×8 sheets are standard and easiest to handle. 4×12 sheets reduce seams on long or 9-foot walls, but weigh about 80 lbs and are hard to manage without help.
- Check your framing spacing — ½-inch board is fine on ceilings with joists 16 inches on center. With joists 24 inches on center, use ⅝-inch board to keep the ceiling from sagging.
- Pick the right board for each room — moisture-resistant board for bathrooms and laundry rooms (cement board, not drywall, goes inside the tub or shower itself), and ⅝-inch Type X where fire separation applies, such as garage walls and ceilings. Confirm requirements with your local building department.
- Arrange delivery for larger jobs — a pickup truck can't safely carry more than 6–8 sheets without risking breakage. Store sheets flat, not leaning against a wall, until you hang them.
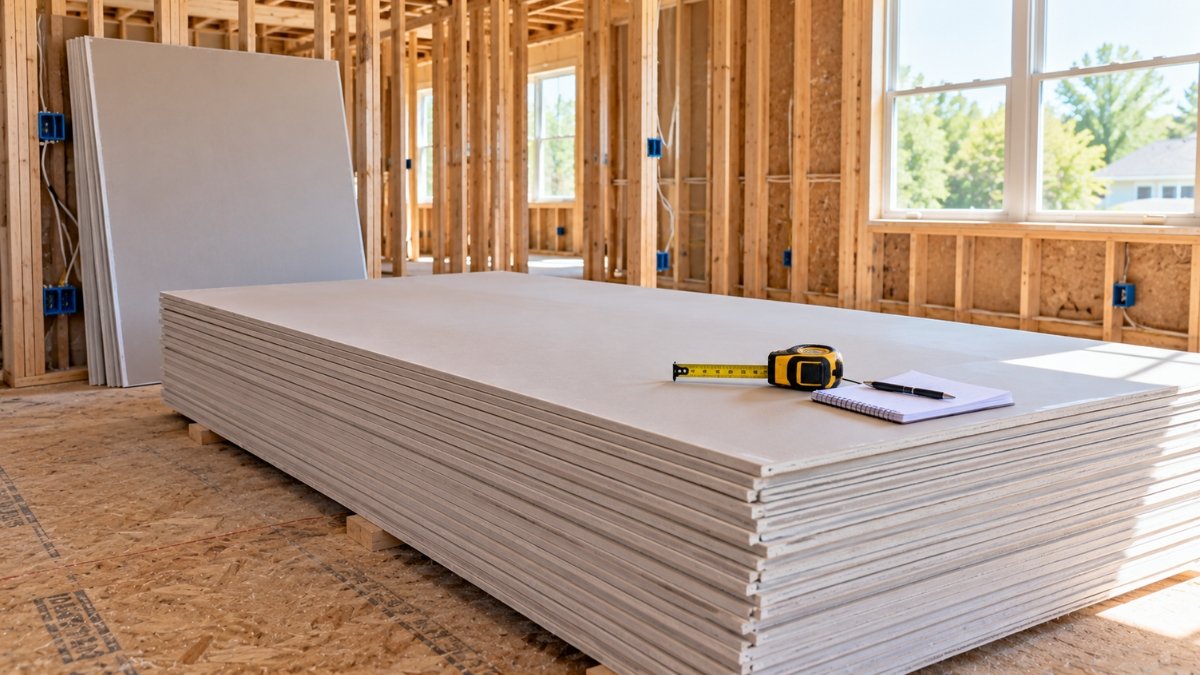
A second delivery for two or three missing sheets usually costs more in fees than the sheets themselves. Take your measurements twice, include closets and soffits, and let the waste factor cover cutting mistakes.
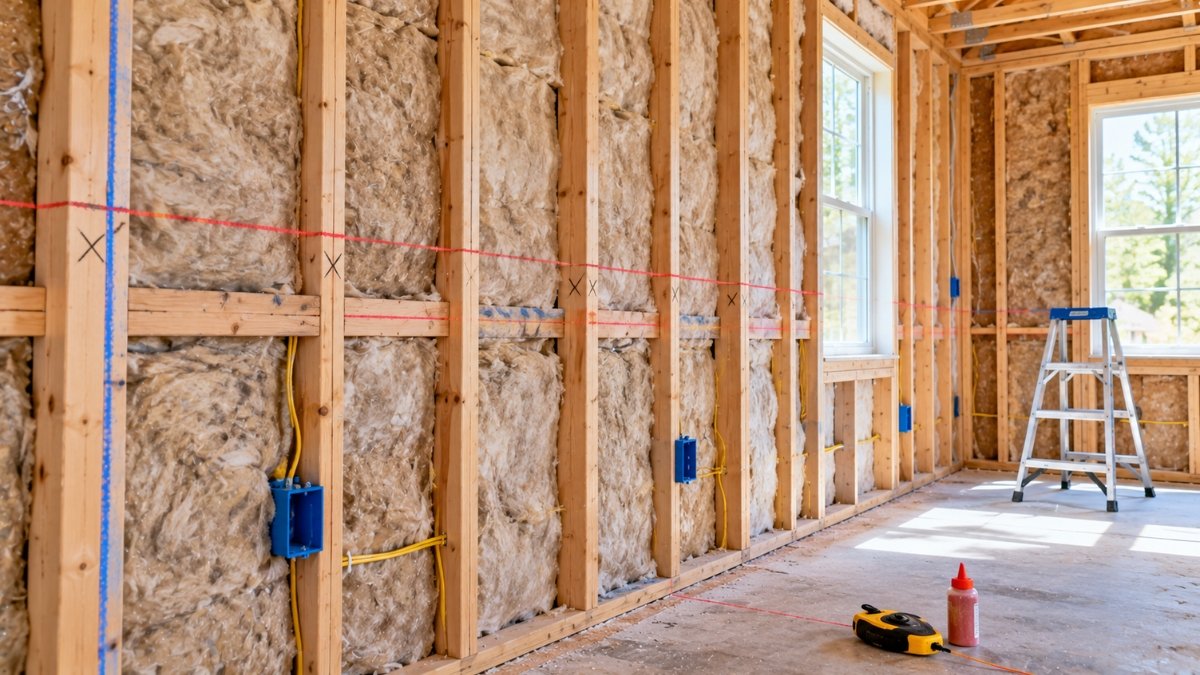
Drywall can only be as flat as the framing behind it. Twenty minutes of prep here saves hours of extra mudding later.
- Confirm inspections are done — many jurisdictions require framing, electrical, and insulation inspections before drywall covers them. Check with your building department before hanging anything.
- Make sure insulation is in place — insulation goes in before drywall. Use our insulation calculator if you still need to figure out quantities.
- Check the framing is flat — hold a long straightedge across the studs and joists. Plane or sand down high spots, and shim low ones, so sheets sit flat without bowing.
- Set electrical boxes at the right depth — the front edge of each box should sit flush with where the finished surface will be, so cover plates sit snug against the wall.
- Mark your stud lines — snap chalk lines on the floor and ceiling so you know exactly where to drive screws after a sheet is up and the framing is hidden.
Always hang ceilings first. Wall sheets then run up tight underneath the ceiling edge, which supports it and closes the gap at the ceiling line.
- Run sheets perpendicular to the joists — this lets every sheet edge land on a joist and gives the strongest ceiling.
- Lift the sheet with a lift or a helper — raise it flat against the joists and hold it in place while you fasten.
- Drive screws every 12 inches into the joists — keep them about ⅜ inch from the sheet edges. Never use nails on ceilings; they back out over time.
- Set screws just below the surface — each screw should leave a slight dimple without tearing the paper face. A screw that breaks the paper loses most of its holding power, so back it out and drive a new one nearby.
- Stagger end joints between rows — never line up the ends of sheets in neighboring rows, and keep sheet edges snug without forcing them together.
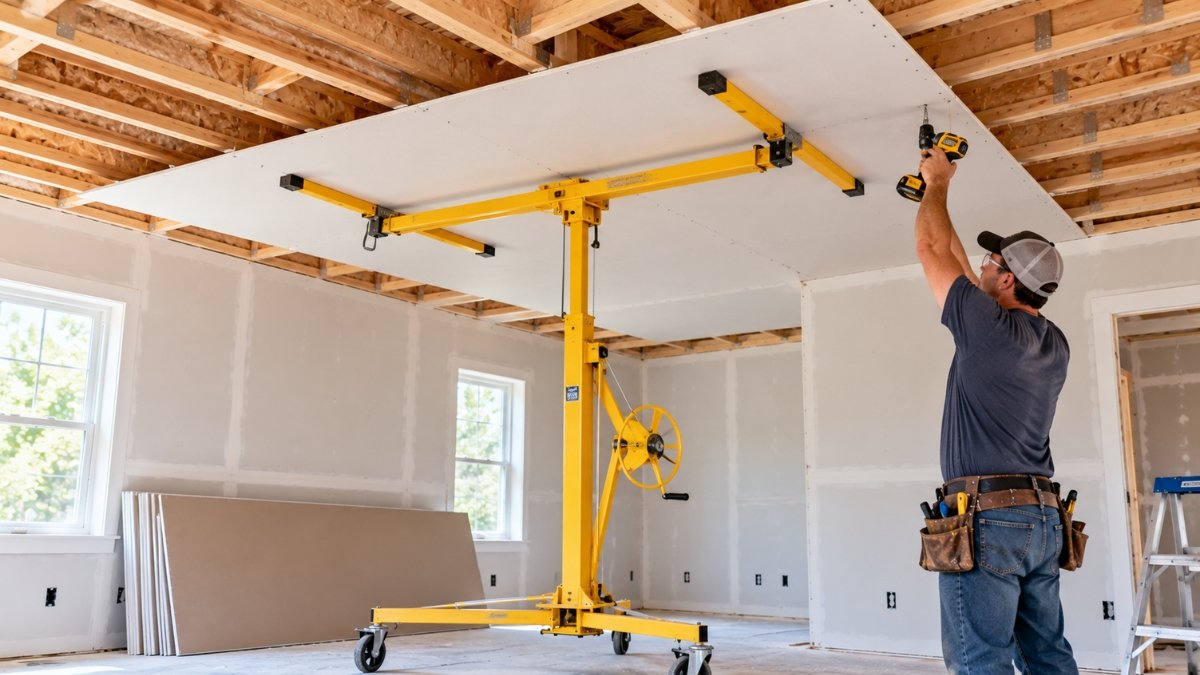
A single ½-inch sheet weighs about 54 lbs and must be held overhead while you drive screws. Ceiling sheets need a rented lift or at least two people. Dropping a sheet is the most common drywall injury, and the broken sheet isn't the real cost.
Wall sheets go up faster than ceiling sheets, and the way you orient them determines how many difficult seams you'll finish later.
- Hang sheets horizontally — with the long edge running across the studs, the tapered edges of the upper and lower sheets meet along the middle of the wall. Tapered seams are the easiest to finish. Cut ends form butt joints, which have no recessed channel and are much harder to hide.
- Hang the top sheet first — push it tight to the ceiling, then hang the lower sheet snug against it.
- Leave a ⅛-inch gap at the floor — this allows for slight movement and prevents moisture wicking up from the floor. Baseboards cover the gap.
- Stagger vertical seams by at least 4 feet — never align vertical seams in adjacent rows. Staggering gives a stronger wall and less cracking after taping.
- Drive screws every 16 inches into the studs — about ⅜ inch from the edges, dimpled just below the surface like the ceiling screws. Fasten the middle of the sheet first and work out toward the edges.
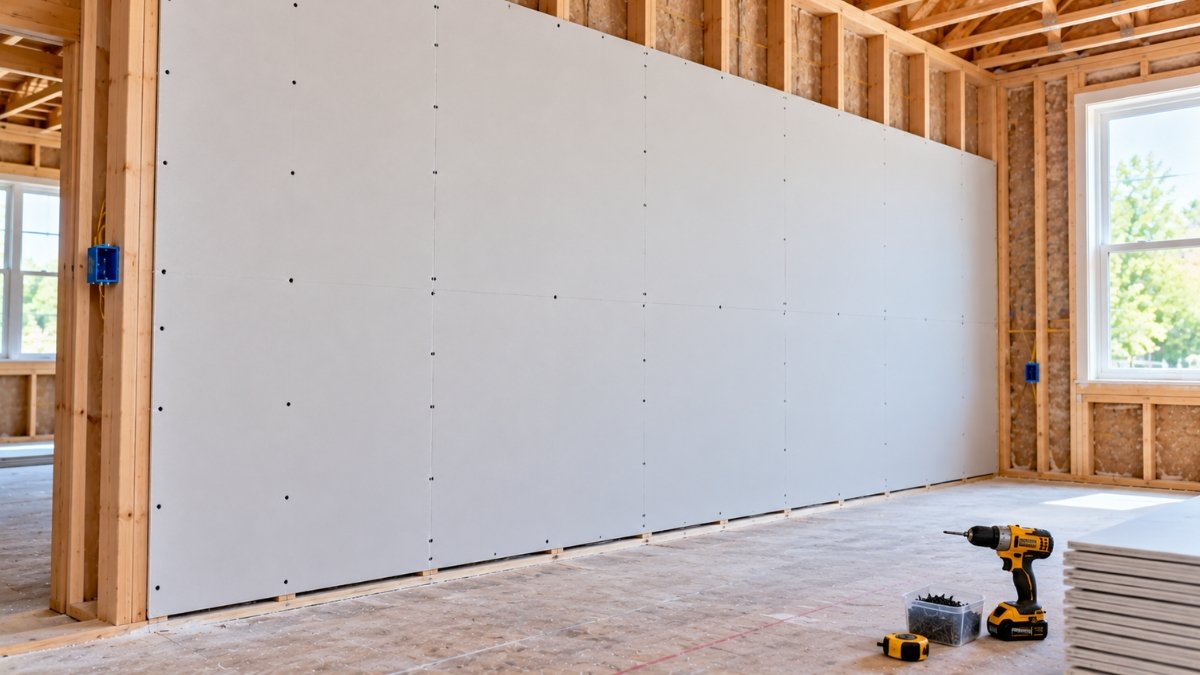
A room can be hung in a day or two, but the taping and mudding that follows takes the bulk of the time, mostly spent waiting for each coat to dry. Doing a clean hanging job, with flat sheets, tight seams, and properly dimpled screws, makes the finishing steps much faster.
Openings and corners are where drywall cracks and gets damaged. A little care in how you cut and finish them pays off for years.
- Cut outlet and switch openings accurately — measure from the sheet edges to the box, transfer the layout onto the sheet, and cut with a drywall saw or rotary cutout tool. Keep the gap around each box small so the cover plate hides it.
- Use L-shaped cutouts at doors and windows — don't let a seam land on the corner of an opening. Cracks start at those corners, so cut one sheet in an L-shape so the seams fall away from the corner.
- Cut sheets with score-and-snap — score the face paper with a utility knife along a T-square, snap the sheet back along the line, then cut through the back paper. Use a fresh blade for clean edges.
- Install metal bead on every outside corner — press the bead onto the corner, keep it straight with a level, and fasten it through into the framing about every 8 inches.
- Leave inside corners without bead — inside corners get folded paper tape instead, which you'll apply in the next step.
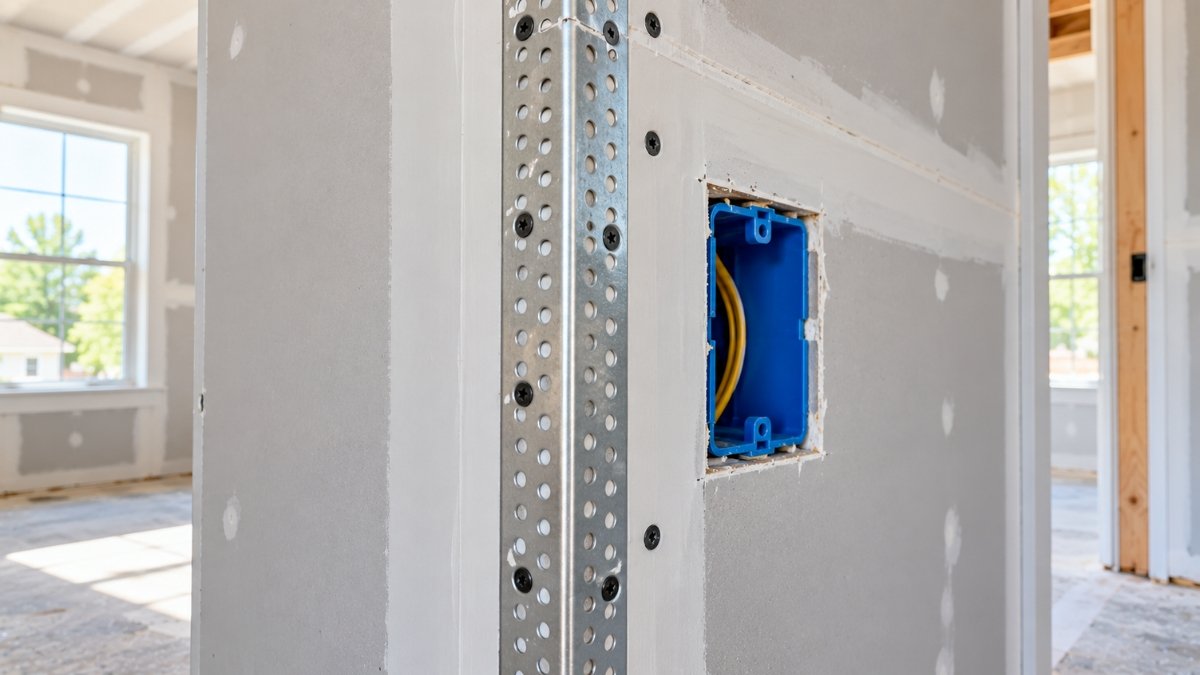
Taping is where finish quality is decided. The goal of this first coat is to bed the tape fully and fill the screw dimples, not to make anything smooth yet.
- Check your hanging work first — slide a 6-inch knife across the surface to find under-driven screws, and trim away loose or torn paper with a utility knife. Fill any gaps wider than about ⅛ inch with setting-type compound, which hardens quickly and doesn't shrink.
- Stir the premixed compound — it should be smooth and creamy. Stirring out lumps now prevents streaks later.
- Spread a thin bed of compound over each joint — use your 6-inch knife, then press paper tape into the wet compound, centered over the seam.
- Embed the tape — draw the knife along the tape with moderate pressure to squeeze out excess compound and air. The tape should lie flat with no bubbles or wrinkles, with a thin layer of compound over it.
- Tape the inside corners — spread compound on both sides of the corner, fold the paper tape along its center crease, and press it into the corner. Work one wall at a time, and use paper tape here rather than mesh.
- Fill every screw dimple — one stroke of the knife over each screw head, scraping the surface flat. Also cover the metal corner bead with a first coat.
- Let the coat dry fully — premixed compound typically needs about a day, and longer in a cool or humid room.
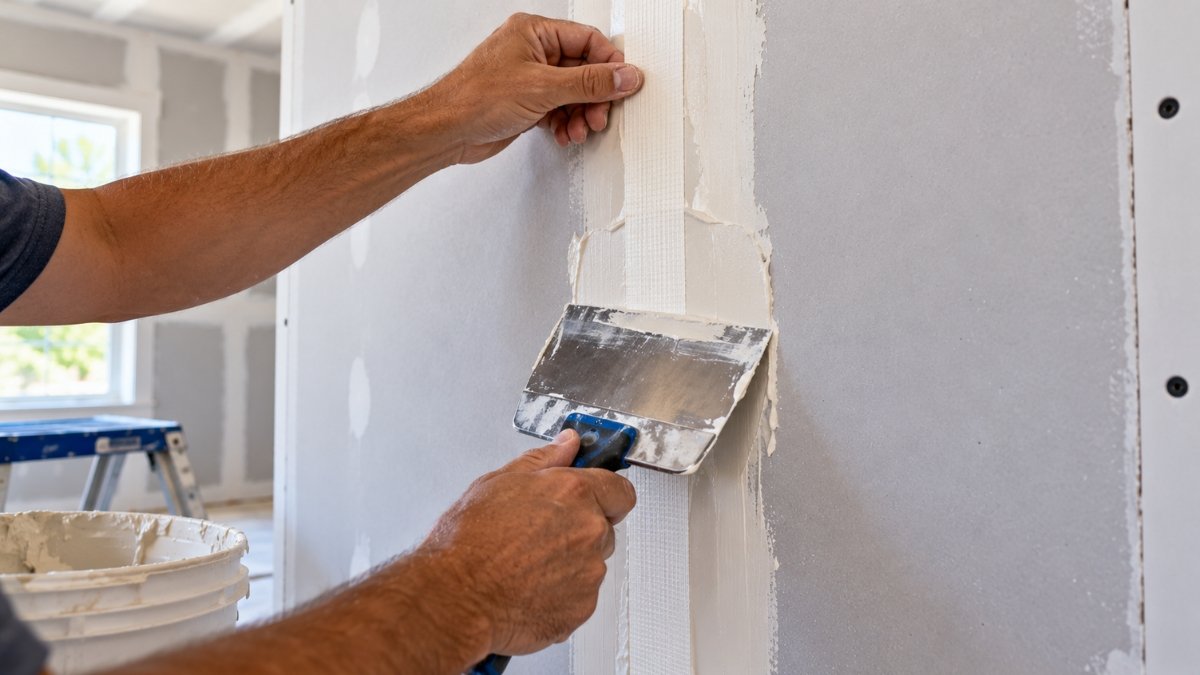
Compound alone cracks. Tape provides the tensile strength that holds a joint together as the house moves with temperature and humidity. Skipping it to save time is the surest way to see seams reappear within a year.
The second coat widens and smooths the joint. Wider knives and gentle pressure feather the edges out, which is what keeps seams invisible after paint.
- Knock down ridges and bumps first — once the first coat is dry, scrape off any high spots with a clean knife so the new coat goes on over a flat surface.
- Switch to a 10-inch knife — spread a thin coat over each joint, feathering the edges so the coat extends about 2 inches wider on each side than the first coat.
- Feather butt joints wider — a butt joint has no recessed channel, so feather it about 4 inches beyond the first coat to hide the hump.
- Cover the screw dimples and corner bead again — a second smooth coat over each, scraped flat.
- Keep every coat thin — thin coats dry flat and rarely crack. A single thick coat shrinks and cracks as it dries.
- Let it dry completely — don't recoat a joint that's still damp or has dark, wet-looking patches.
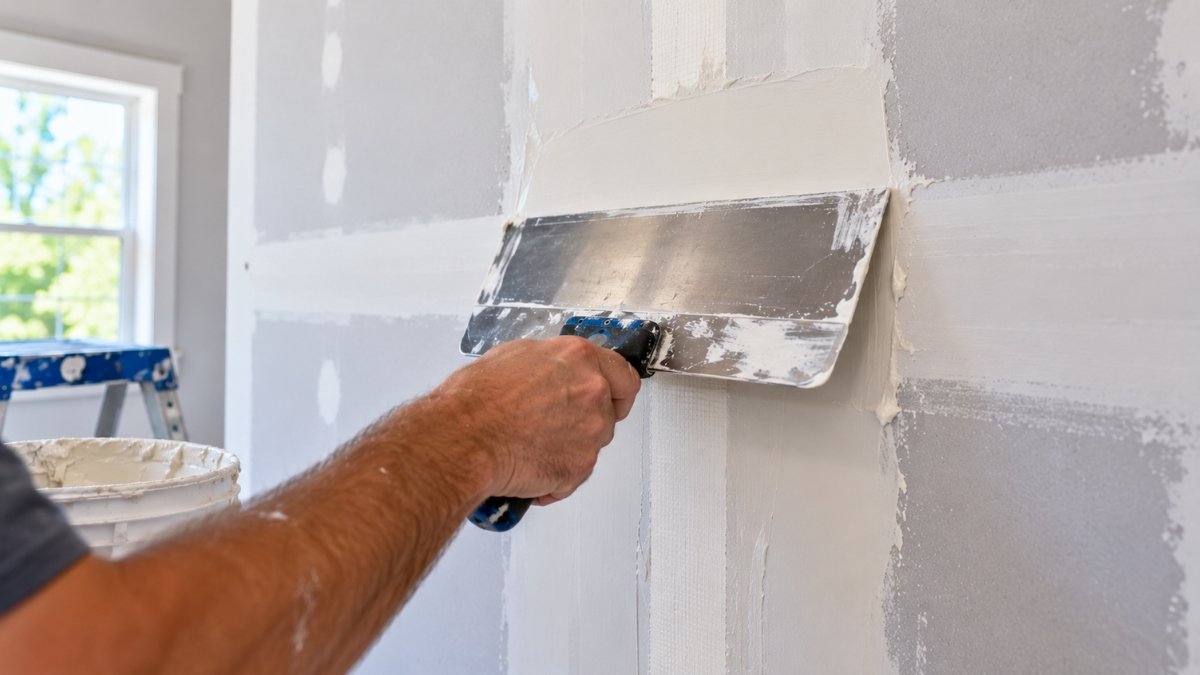
Three thin coats beat one thick coat, because thick compound cracks as it dries. If a joint still looks uneven after a coat, let it dry and add another thin coat instead of loading more mud on top.
The finish coat is a final skim that blends the joint into the surrounding wall. Done well, it needs very little sanding.
- Use a 12-inch knife — apply a final thin coat over each joint, feathering it out 8–10 inches on each side of the joint centerline.
- Fill the screw dimples a third time — the third coat is what finally hides every fastener.
- Let it dry completely before sanding — sanding damp compound smears instead of smoothing.
- Prepare the room for dust — close off doorways and vents with plastic sheeting, and wear a dust mask or respirator. Drywall dust gets everywhere.
- Sand lightly with 120-grit — use a pole sander with a screen, working with light pressure. Over-sanding cuts through the compound into the paper face of the drywall, which leaves a rough texture that shows through paint.
- Check your work with a sidelight — hold a work light at a low angle to the wall. Seams and ridges that vanish under normal light show up clearly in raking light. Fix any flaws with another thin skim, and re-sand once it dries.
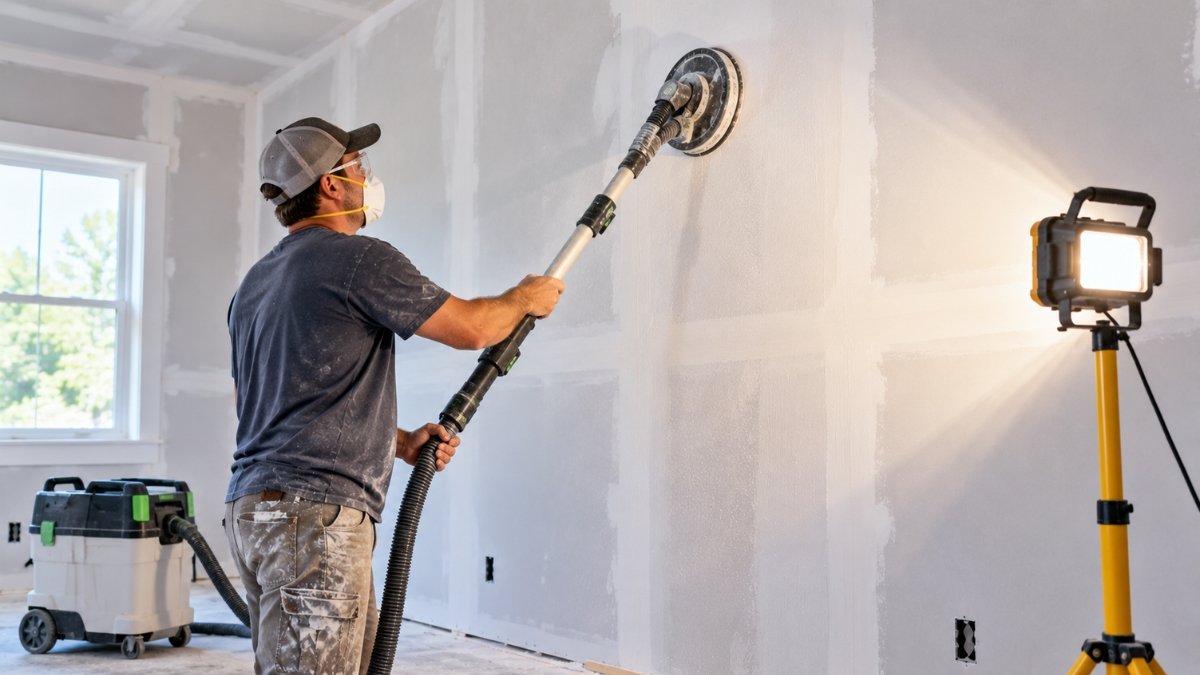
For light touch-ups and small areas, a damp sanding sponge works nearly as well as sandpaper and creates almost no dust. Save the pole sander for the main smoothing pass over larger areas.
Priming evens out how the bare paper and the compound absorb paint. Without it, joints can show through as dull patches even when they're perfectly smooth.
- Remove the dust — vacuum the walls and ceiling, then wipe them down with a barely damp cloth. Dust left behind will show as bumps under the primer.
- Apply a drywall primer — cover the entire surface, not just the taped joints, so the whole wall takes paint evenly.
- Inspect the primed surface in sidelight — primer makes flaws easier to spot. Mark any dents, ridges, or nail pops with a pencil and fix them with a thin skim of compound.
- Re-prime any repaired spots — patched areas need their own spot of primer before painting.
- Clean tools and the room — wash knives and the mud pan right away, since dried compound ruins a pan and leaves streaks next time. Sweep up, and vacuum the vents once the plastic comes down.
- Move on to paint and trim — see our How to Paint a Room guide next, and our How to Install Baseboard and Trim guide to finish the room.
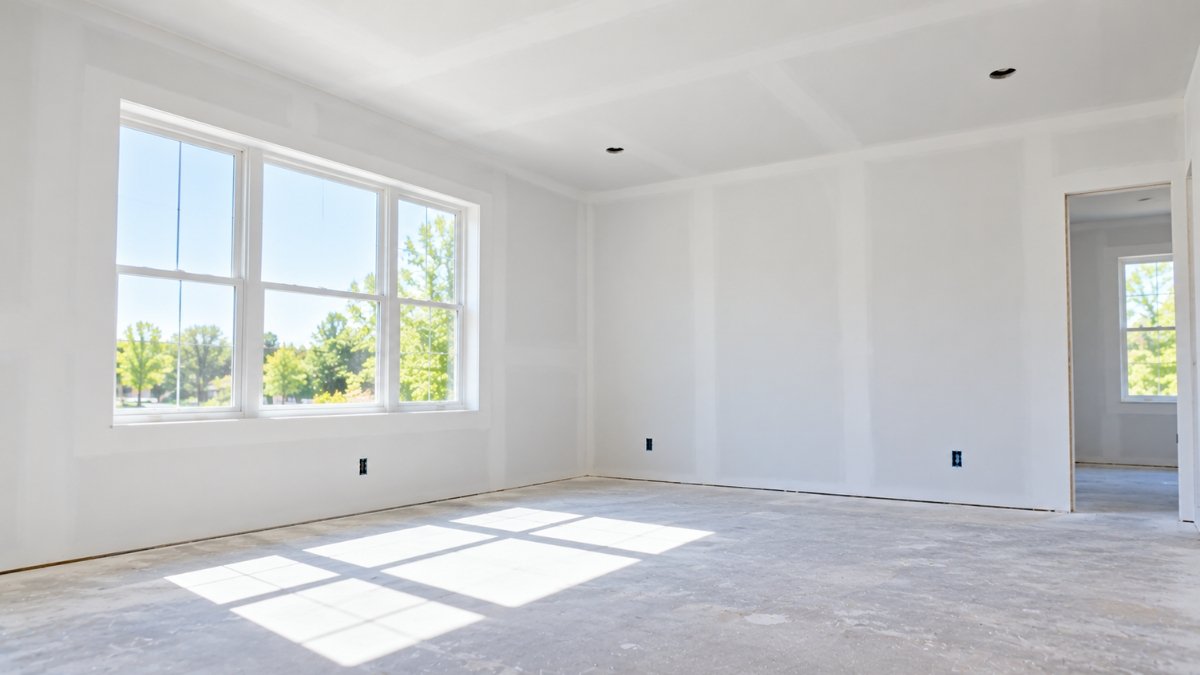
A well-finished drywall job disappears once it's painted, and it should last as long as the house. Use our paint calculator to work out how much paint and primer your finished walls need.
Pro Tips & Common Mistakes
Common Mistakes to Avoid
- Applying compound too thick — the most common finishing mistake. Thick coats shrink and crack as they dry. Use thin coats and build up.
- Skipping the tape — compound alone cracks. Every seam and inside corner needs tape.
- Hanging ceiling sheets without a lift or helper — sheets are heavy and awkward overhead. Rent a lift or work with at least two people.
- Driving screws through the paper face — a screw that tears the paper loses most of its holding power. Set screws just below the surface.
- Letting a seam land on the corner of a door or window — cracks start at those corners. Use L-shaped cutouts instead.
- Over-sanding into the paper — cutting through the compound into the paper face leaves a rough texture that shows through paint.
- Painting without primer — compound and bare paper absorb paint differently, leaving dull patches over every joint.
- Forgetting the floor gap — jamming sheets tight to the floor invites moisture wicking. Leave about ⅛ inch and let the baseboard cover it.
Pro Tips
- Keep the room at a steady temperature, at least about 55°F, with gentle ventilation while mudding and drying. Blasting heat to rush drying can crack the compound.
- Scrape off ridges between coats with a clean knife. A flat surface under each coat means less sanding at the end.
- Keep your knives and mud pan clean. Dried specks of compound cause streaks in the next coat.
- Use a 4×12 sheet only on long walls where you have help. Fewer seams are worth it, but not at 80 lbs per sheet.
- Buy a spare bucket of premixed compound. Running out mid-coat is the easiest way to end up with visible edges.
- Take photos of the wiring and plumbing before you cover the framing. They're very useful if you ever need to open the wall again.
Frequently Asked Questions

Prakash
Prakash is the founder and editor of ConstructlyTools. He researches, develops, and maintains construction calculators, material estimators, cost guides, and DIY planning resources designed to help homeowners, contractors, and builders make informed project decisions.
Every calculator and guide is researched using trusted industry references, published building standards, manufacturer specifications, and reliable construction pricing sources. Each page is reviewed for formula accuracy, pricing methodology, readability, and practical usefulness before publication and is updated regularly as standards or market prices change.
Every calculator and article published on ConstructlyTools is independently reviewed for formula accuracy, pricing methodology, readability, and practical usefulness before publication. Content is updated whenever construction pricing, industry standards, or building code references significantly change.
This page was researched, written, and reviewed in accordance with our Editorial Policy.