
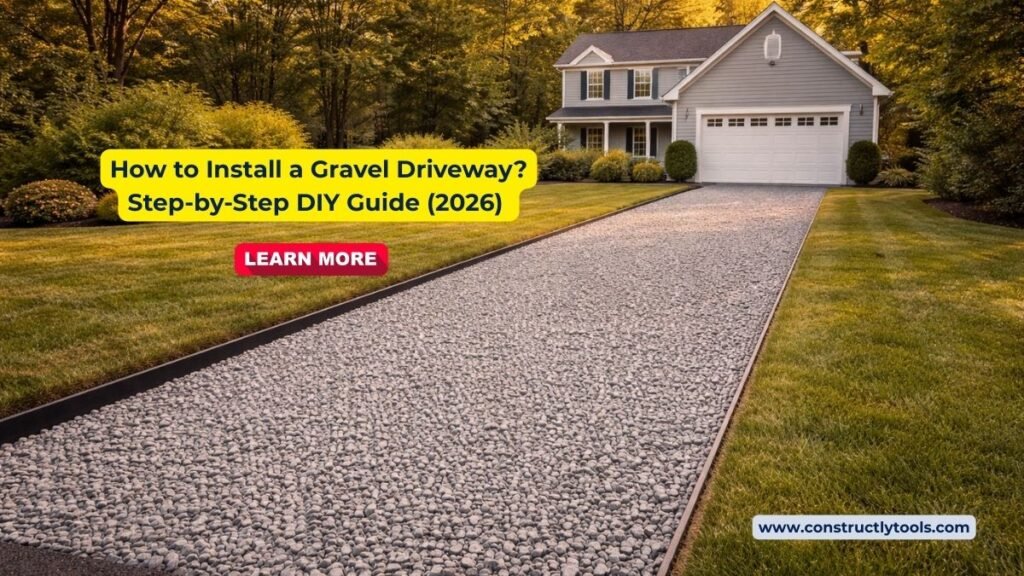
- Overview & Cost Savings
- Gravel Types — Which to Choose
- Tools & Materials
- Step 1 — Plan & Mark the Driveway
- Step 2 — Excavate & Prepare the Base
- Step 3 — Lay Landscape Fabric
- Step 4 — Add the Base Layer
- Step 5 — Add the Middle Layer
- Step 6 — Add the Top / Surface Layer
- Step 7 — Install Edging
- Step 8 — Grade & Maintain
- Material Cost Breakdown (2026)
- FAQs
How to Install a Gravel Driveway — Overview
A gravel driveway is the most affordable driveway option available — costing 3–5× less than asphalt and 5–8× less than concrete. When properly installed with a 3-layer system, a gravel driveway can last 20–30 years with minimal maintenance. It's also one of the most beginner-friendly DIY projects for homeowners.
Professional gravel driveway installation costs $1.50–$4.00 per square foot installed — roughly $2,700–$7,200 for a standard 60×20 ft double-car driveway. By doing it yourself, you pay only for materials and equipment rental, typically $0.50–$1.50 per square foot — saving $1,000–$4,000+ on a standard project.
Gravel Types — Which to Choose
A proper gravel driveway uses 3 layers of different gravel sizes. Each layer has a specific job. Using the wrong gravel in the wrong layer is the #1 cause of premature driveway failure.
| Layer | Gravel Type | Size | Depth | Purpose |
|---|---|---|---|---|
| Base (Bottom) | Recycled concrete or #3 crushed stone | 2–4 inches | 4–6 inches | Structural support, drainage |
| Middle | Crusher run or #57 stone | ¾–1 inch | 3–4 inches | Stability & transition layer |
| Top (Surface) | Pea gravel, #57, or chip stone | ⅜–¾ inch | 2–3 inches | Appearance & traction |
For a full comparison of driveway material costs including asphalt, concrete, pavers, and gravel, see our Driveway Cost Calculator.
Tools & Materials You'll Need
🔧 Tools
- Tape measure & marking paint
- String line & stakes
- Skid steer or mini excavator (rent)
- Plate compactor (rent ~$80–$120/day)
- Bobcat or tractor with bucket (optional)
- Hand tamper (for edges)
- Rake & landscaping rake
- Wheelbarrow
- Work gloves & safety glasses
- Level & laser level (optional)
🪨 Materials
- #3 crushed stone / recycled concrete (base)
- Crusher run / #57 stone (middle)
- Surface gravel — #57 or chip stone (top)
- Landscape fabric (weed barrier)
- Metal or plastic edging (optional)
- Geotextile fabric (for soft soil)
- Culvert pipe (if crossing drainage ditch)
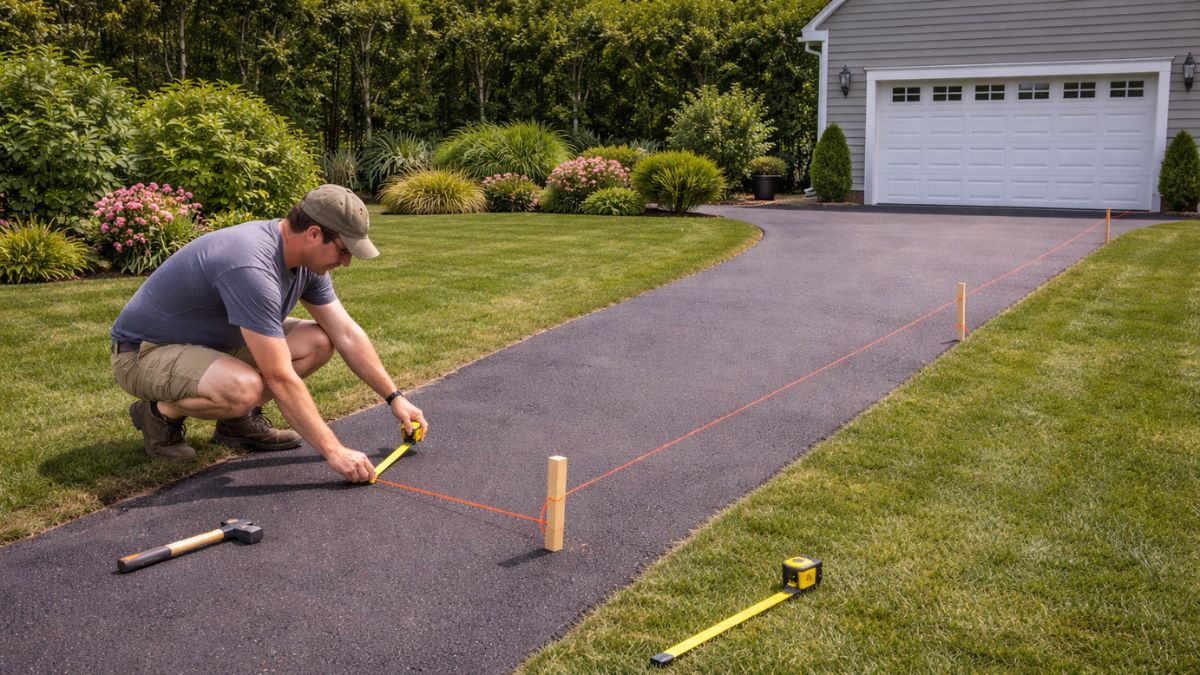
Good planning prevents costly mistakes. Before breaking ground, decide on the exact path, width, and where drainage will go.
- Standard driveway widths: Single car — 10–12 ft. Double car — 20–24 ft. Passing area — 14 ft minimum. Wider is almost always better — narrow driveways feel cramped and damage lawn edges from tire overhang.
- Mark the edges with stakes and string line or marking paint. Add 6 inches on each side beyond your final width to allow for edging installation.
- Plan your drainage: The driveway surface should be crowned (slightly higher in the center) or sloped to one side to direct water off the driveway. A 2% cross-slope (¼ inch per foot) prevents water pooling. Standing water is the #1 cause of gravel driveway deterioration — see the FHWA guide on low-volume road drainage for engineering principles.
- Call 811 before digging — US law requires notifying utilities at least 3 business days before any excavation. This is free and mandatory.
- Check with your local municipality about driveway permits — most areas require a permit where the driveway connects to a public road.
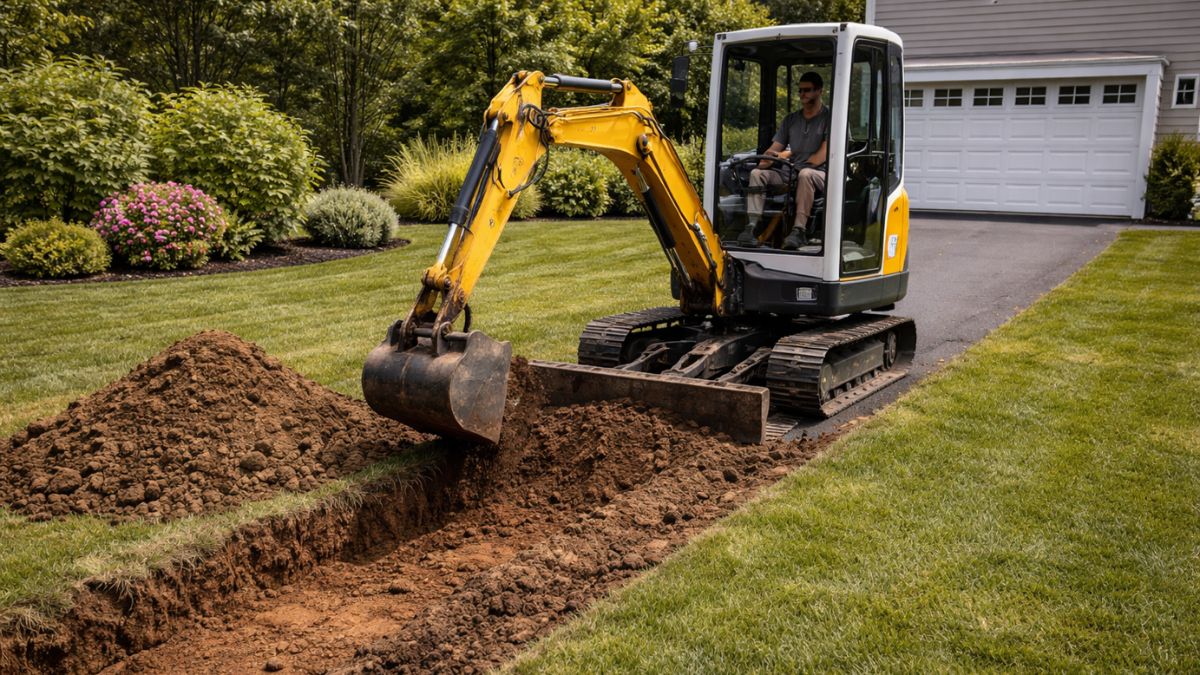
Proper excavation creates a stable foundation. The goal is to remove all organic material and create a firm, well-drained subgrade for your gravel layers.
- Excavation depth: Remove 8–12 inches of soil for a standard residential driveway (4–6" base + 3–4" middle + 2–3" top). For driveways that support heavy vehicles (trucks, RVs), excavate 12–18 inches.
- Remove all grass, topsoil, roots, and organic material — organic matter decomposes and causes settling.
- After excavation, compact the native subgrade with a plate compactor — make 3–4 passes. Never skip this step.
- If you encounter soft, wet, or clay soil, install geotextile stabilization fabric before adding any gravel. This prevents the gravel from sinking into the soft soil over time.
- Grade the subgrade to your desired cross-slope now — it's much easier to correct grade at this stage than after gravel is placed.
Use our Fill Dirt Calculator to estimate how much excavated soil you'll need to dispose of, and our Cubic Yard Calculator to convert your excavation volume.
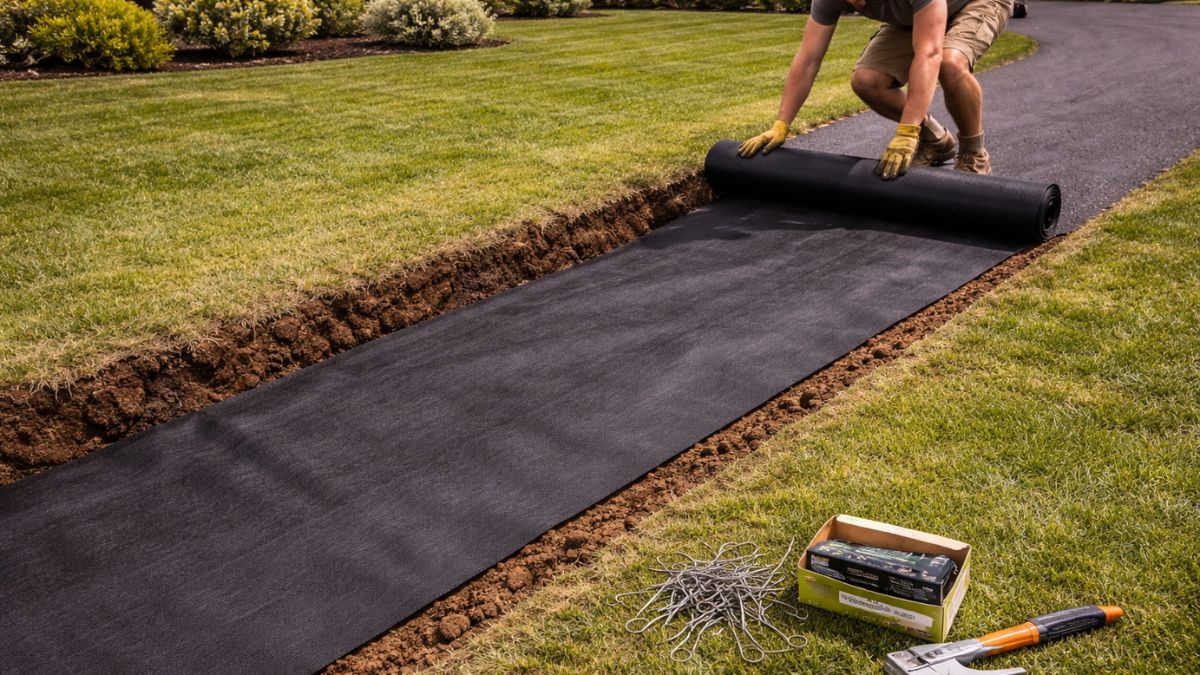
Landscape fabric (geotextile weed barrier) serves two purposes: it prevents weeds from growing up through the gravel, and it keeps the gravel layers from mixing with the soil below.
- Use commercial-grade non-woven geotextile fabric — not the cheap thin plastic sheeting sold at discount stores. Good geotextile costs $0.10–$0.25/sq ft and lasts 20+ years. Cheap plastic sheeting degrades in 2–3 years.
- Overlap fabric strips by at least 12 inches at seams to prevent gaps where weeds can push through.
- Pin the fabric to the ground with landscape staples every 3–4 feet along edges and seams.
- Fold fabric up against the edges and staple it to your edging stakes — this prevents it from shifting when gravel is added.
- Note: Landscape fabric is optional on well-draining sandy soils. It's most important on clay or loam soils where weeds are aggressive.
The base layer is the structural foundation of your driveway. It bears the load of vehicles and provides drainage. Use large angular crushed stone — #3 stone (2–4 inch pieces) or recycled crushed concrete.
- Spread base gravel to 4–6 inches depth using a tractor, Bobcat, or rake. For long driveways, a dump truck spreading as it drives forward is the most efficient method.
- Compact in 2–3 inch lifts — never try to compact more than 3 inches at once. Each lift needs 3–4 plate compactor passes in different directions.
- After full compaction, the base should feel firm underfoot with minimal give.
- Check your cross-slope with a level — make corrections now before the middle layer goes on.
Use our Gravel Calculator with 4–6" depth to calculate base layer tonnage. For a 60×20 ft driveway at 5" depth, you'll need approximately 18–22 tons of base gravel.
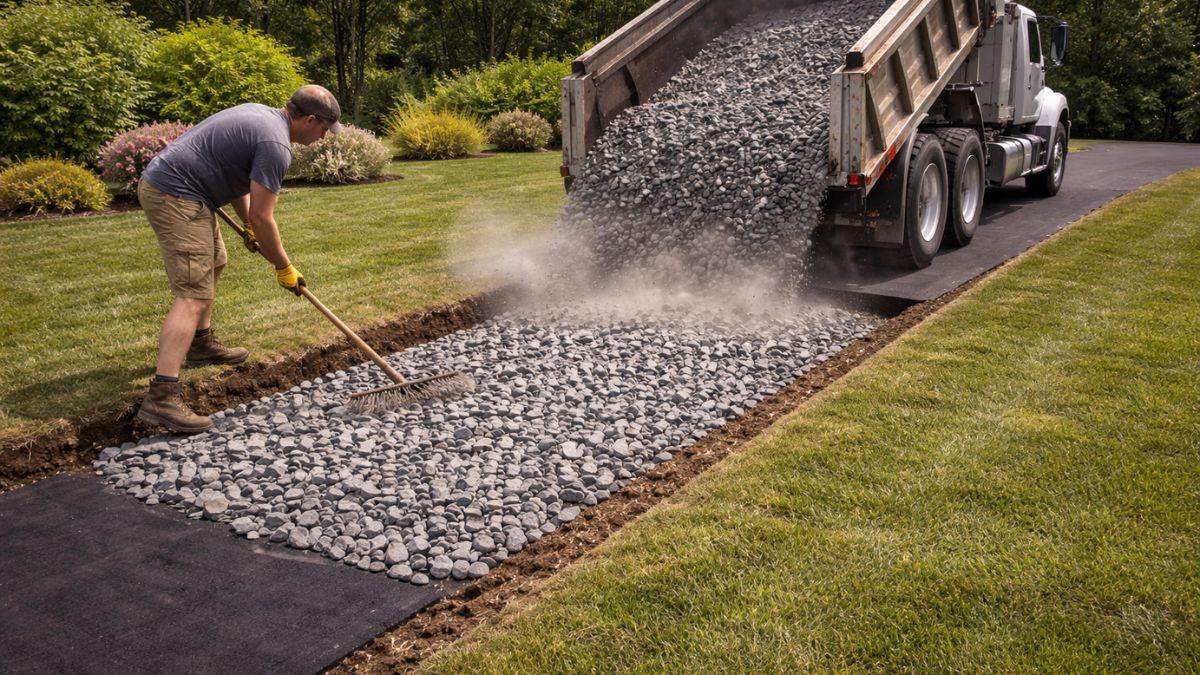
The middle layer — typically crusher run or #57 crushed stone — bridges between the large base rock and the fine surface layer. It adds stability and prevents the top layer from sinking into the base.
- Spread crusher run or #57 stone to 3–4 inches depth over the compacted base.
- Compact thoroughly — crusher run especially compacts very well and creates an almost solid surface when properly compacted with a plate compactor.
- After compaction, this layer should feel almost as hard as a packed dirt road.
- Re-check your cross-slope and make any final grade corrections — this is your last chance before the decorative top layer goes on.
Calculate tonnage for this layer using the Gravel Calculator at 3–4" depth. A 60×20 ft driveway at 3.5" depth needs approximately 13–16 tons of middle layer gravel.
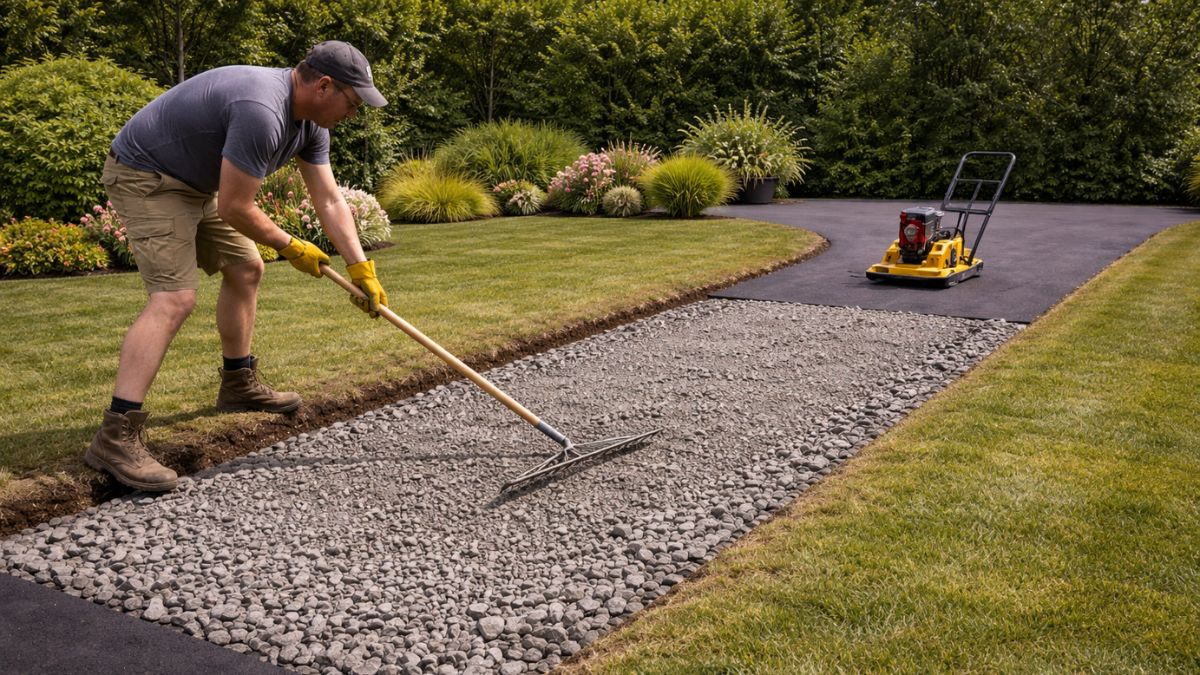
The top layer is what you see and drive on every day. Use smaller, attractive gravel — #57 crushed stone, pea gravel, or chip stone in a color that complements your home.
- Spread surface gravel to 2–3 inches depth.
- Rake evenly and maintain your cross-slope for drainage.
- Lightly compact with the plate compactor — don't over-compact the top layer or it becomes too hard and loses its loose gravel appearance.
- Best surface gravel options:
- #57 crushed stone — versatile, compacts well, excellent drainage. Best overall choice.
- Pea gravel — attractive, rounded, comfortable underfoot. Tends to migrate more than angular stone — needs edging to contain it.
- Chip stone / chat gravel — small angular chips, very stable, low migration. Great for high-traffic driveways.
- Marble chips / white gravel — decorative, brightens the entry. Higher cost, $60–$100/ton.
For the full breakdown of gravel types and pricing, see our Pea Gravel Calculator and Gravel Calculator.
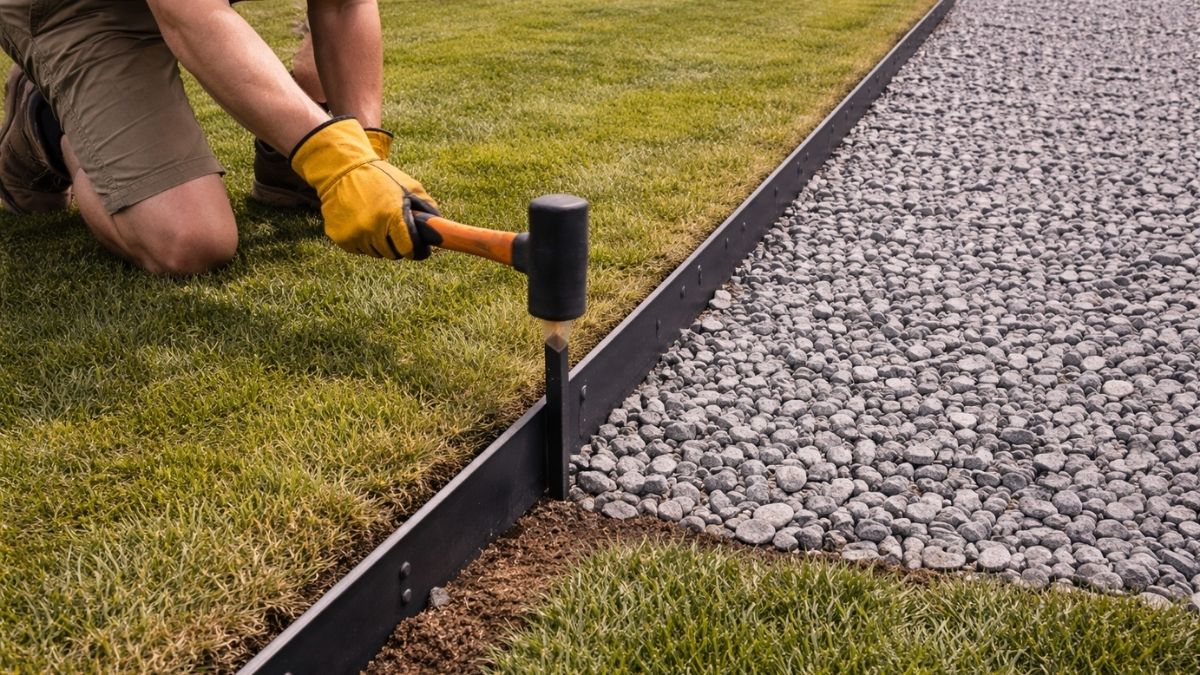
Edging keeps your gravel contained and prevents it from migrating into the lawn. Without edging, even well-installed gravel driveways gradually lose gravel to the sides over time.
- Metal landscape edging ($1–$2/ft) — clean, professional look, very durable. Best for straight runs.
- Plastic edging ($0.30–$0.60/ft) — flexible for curves, affordable, less durable than metal.
- Timber or railroad ties ($3–$8/ft) — rustic look, defines edges well, doubles as a retaining wall on sloped sites.
- Concrete or stone border — most permanent and attractive option. Higher cost but eliminates gravel migration permanently.
- Drive edging stakes into the ground at least 6–8 inches deep and space them no more than 12 inches apart on straight sections, 6 inches on curves.
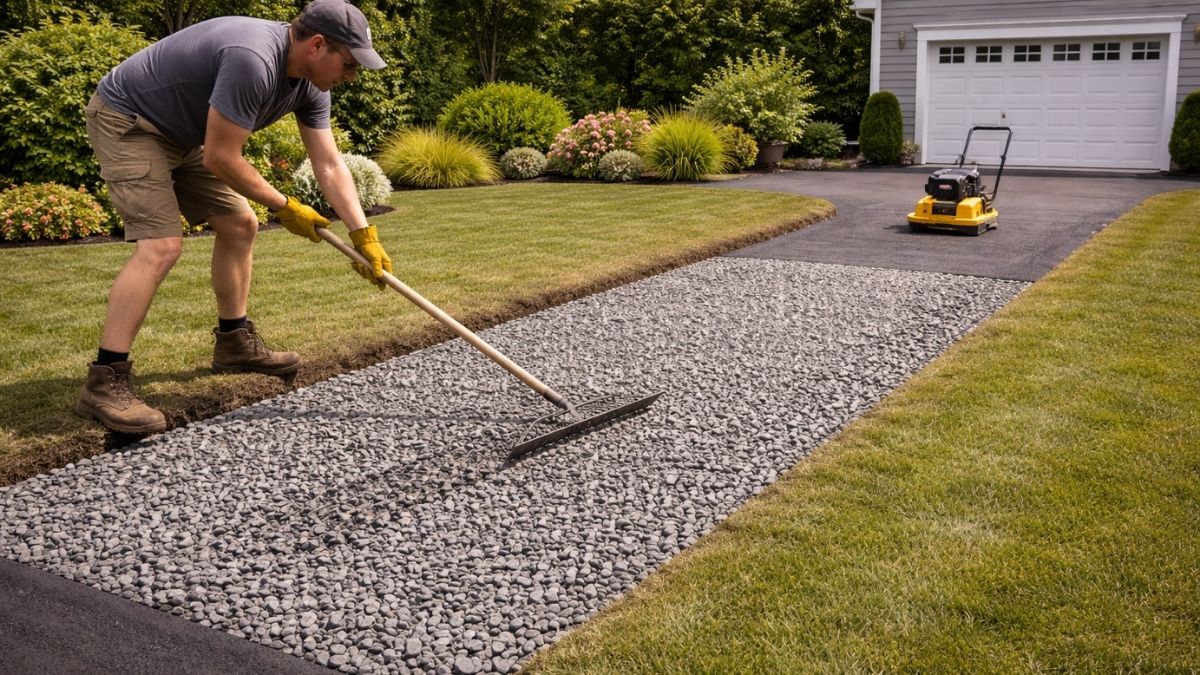
A gravel driveway requires periodic maintenance to stay looking good and performing well. The good news — it's simple and inexpensive compared to repairing cracked concrete or potholes in asphalt.
Annual Maintenance Tasks:
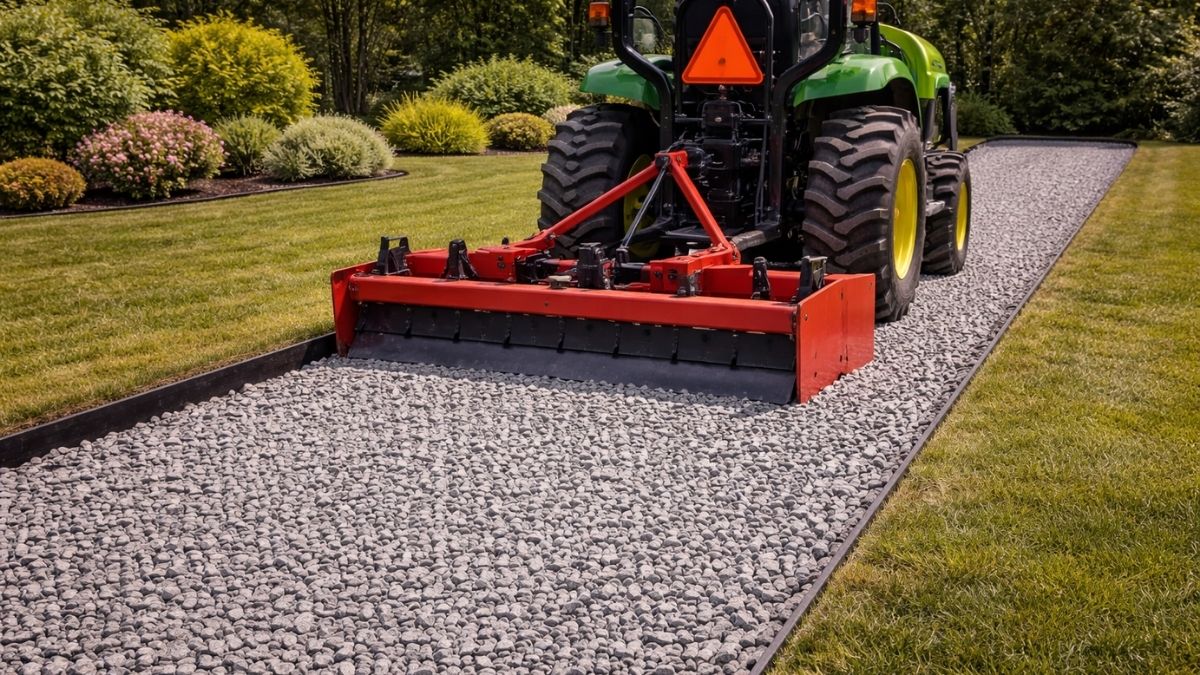
- Re-grade in spring — after winter freeze-thaw cycles, rake and re-level any rutted or uneven areas. A tow-behind box grader ($30–$60/day rental) makes this fast on longer driveways.
- Top up gravel every 3–5 years — add 1–2 inches of fresh surface gravel as the existing layer compacts and migrates. A single ton of gravel covers about 80 sq ft at 2 inches deep.
- Fill potholes immediately — add gravel and compact. Ignored potholes get worse quickly.
- Manage edges — rake gravel back onto the driveway from lawn edges every spring.
- Control weeds — spot-treat with a non-selective herbicide (EPA-registered herbicides) or apply a pre-emergent in early spring.
Material Cost Breakdown (2026)
Here's a typical material cost breakdown for a standard 60×20 ft double-car gravel driveway (1,200 sq ft). Use our calculators to get exact quantities for your specific dimensions.
| Material / Item | Quantity | Unit Cost | Total Est. |
|---|---|---|---|
| Base Layer — #3 crushed stone (5") | ~22 tons | $28–$45/ton | $616 – $990 |
| Middle Layer — Crusher run (3.5") | ~15 tons | $28–$45/ton | $420 – $675 |
| Top Layer — #57 stone (2.5") | ~10 tons | $35–$55/ton | $350 – $550 |
| Landscape Fabric | ~150 sq yd | $0.10–$0.25/sq ft | $130 – $330 |
| Metal Edging | ~160 linear ft | $1–$2/ft | $160 – $320 |
| Plate Compactor Rental | 1–2 days | $80–$120/day | $80 – $240 |
| Delivery (3 loads) | 3 truckloads | $50–$150/load | $150 – $450 |
| Total Materials (DIY) | $1,906 – $3,555 | ||
| Professional Install | $1.50–$4.00/sq ft | $1,800 – $4,800 | |
*Based on 1,200 sq ft (60×20 ft) driveway with 3-layer system. Gravel prices fluctuate — always get current quotes from local suppliers. Excavation costs not included if hiring out.
Frequently Asked Questions

Prakash
Prakash is the founder and editor of ConstructlyTools. He researches, develops, and maintains construction calculators, material estimators, cost guides, and DIY planning resources designed to help homeowners, contractors, and builders make informed project decisions.
Every calculator and guide is researched using trusted industry references, published building standards, manufacturer specifications, and reliable construction pricing sources. Each page is reviewed for formula accuracy, pricing methodology, readability, and practical usefulness before publication and is updated regularly as standards or market prices change.
Every calculator and article published on ConstructlyTools is independently reviewed for formula accuracy, pricing methodology, readability, and practical usefulness before publication. Content is updated whenever construction pricing, industry standards, or building code references significantly change.
This page was researched, written, and reviewed in accordance with our Editorial Policy.